The Technique: Step-by-Step
Here’s how to create your own rainy-day scene:
1. Set Up Your Scene:
Subject Placement: Position your subject (person, object, etc.) a little distance behind where you’ll hold the acrylic sheet. This separation is crucial for the effect to work.
Background: Consider your background. A slightly darker or out-of-focus background will make the “rain” pop more. If shooting indoors in Prague, a window view or a plain wall can work.
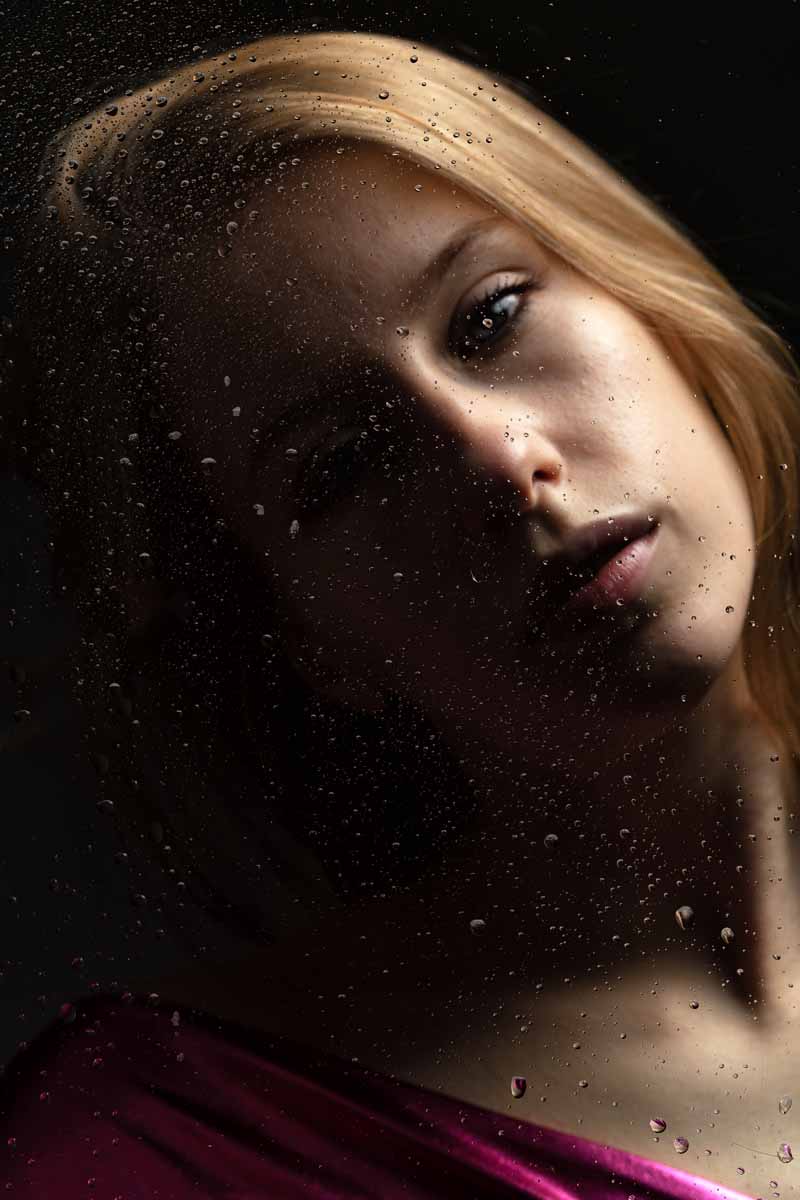
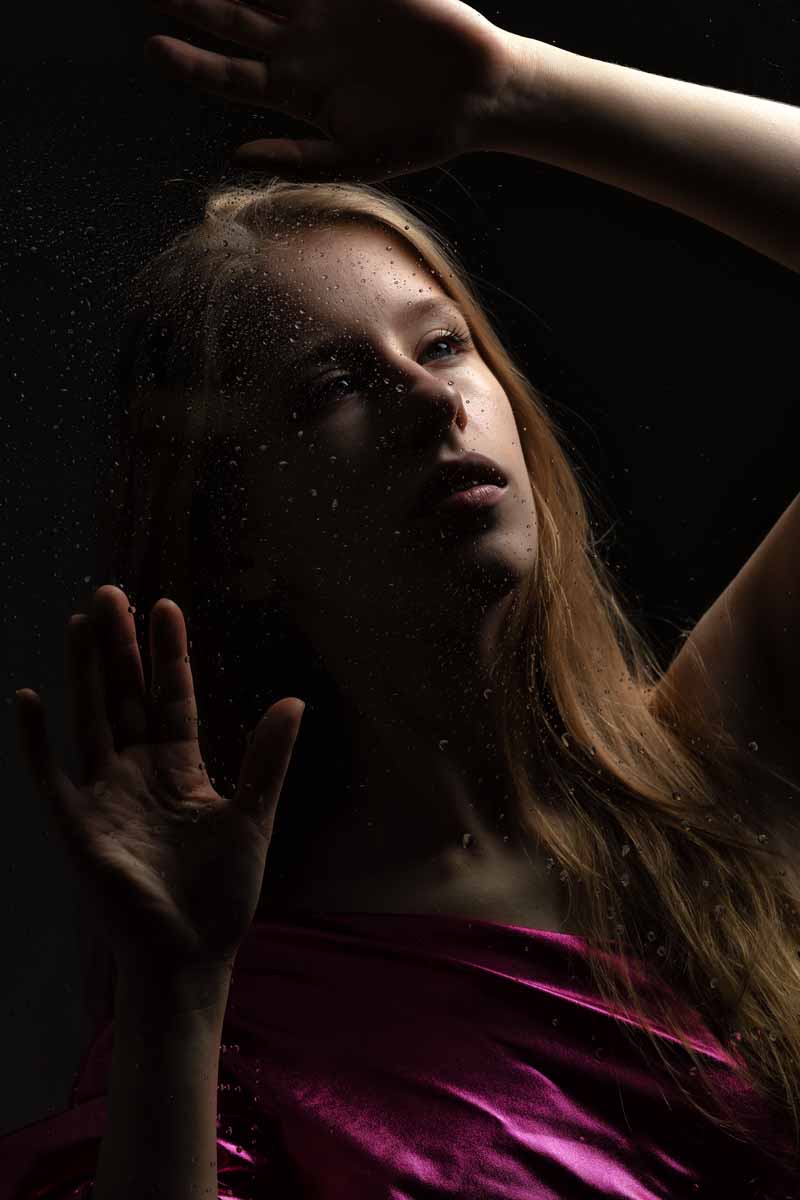
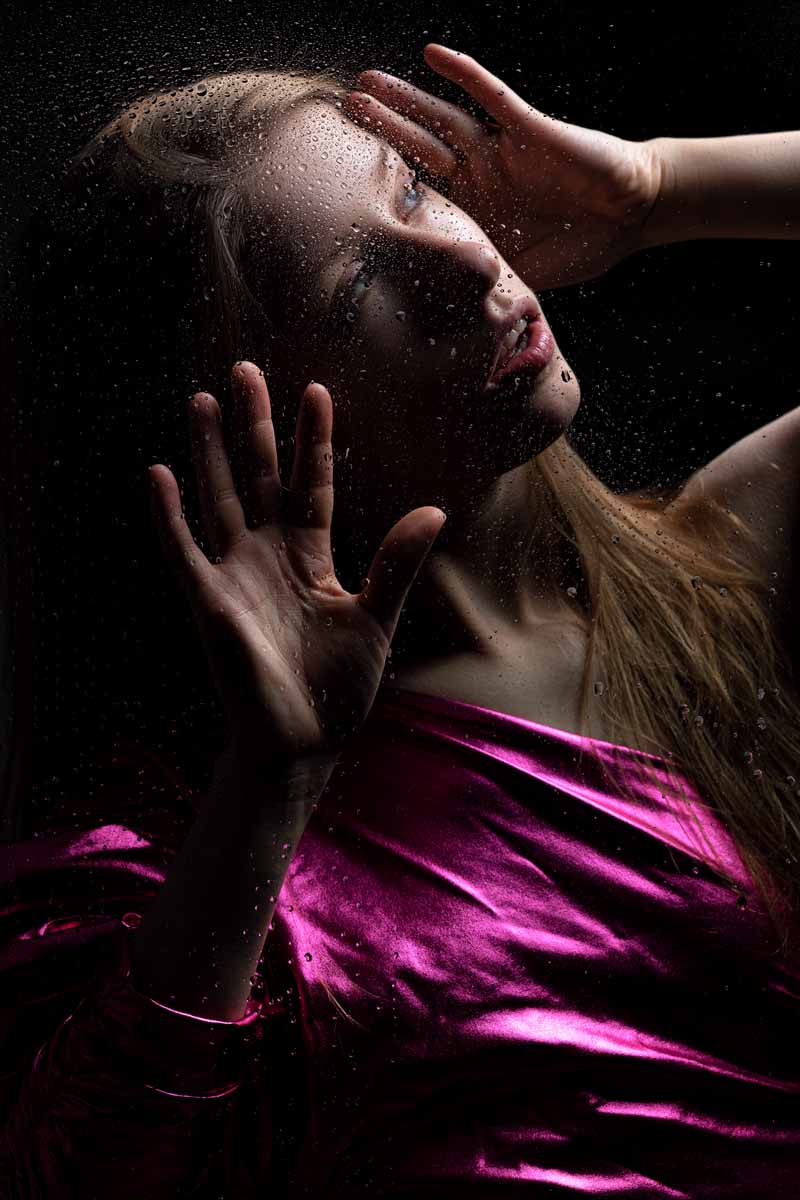
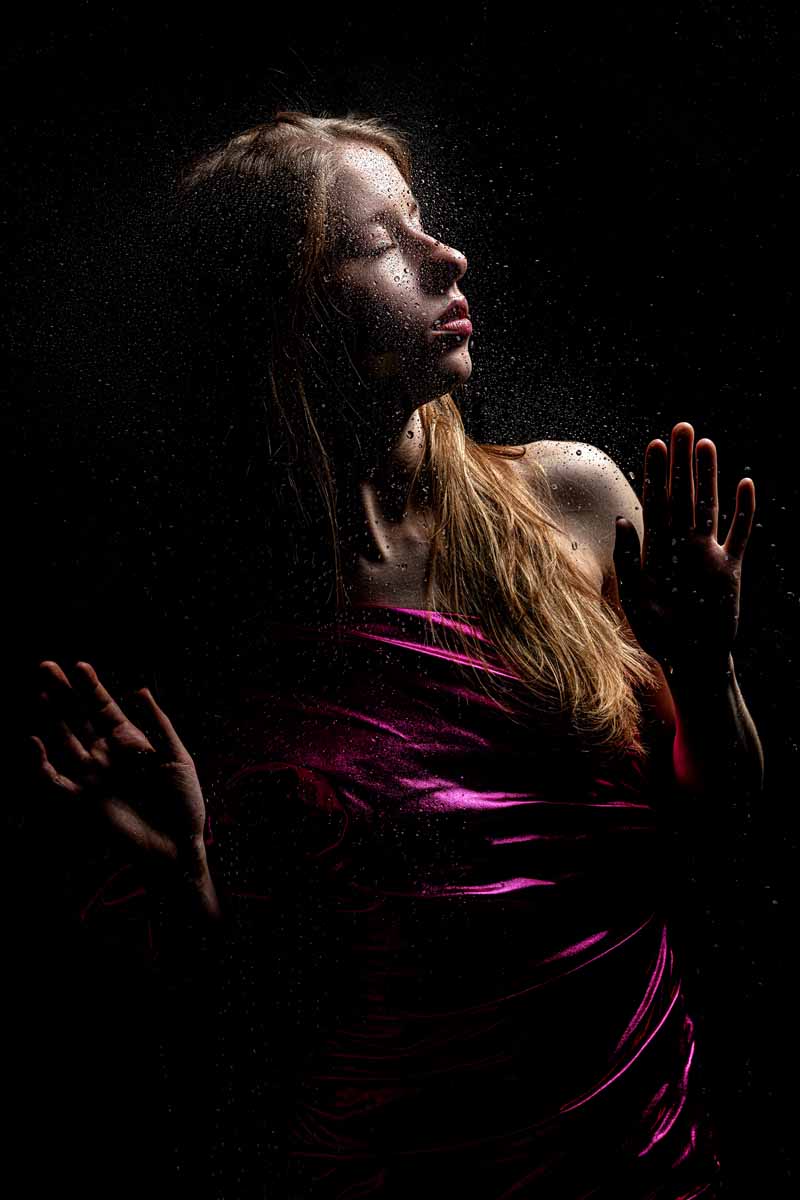
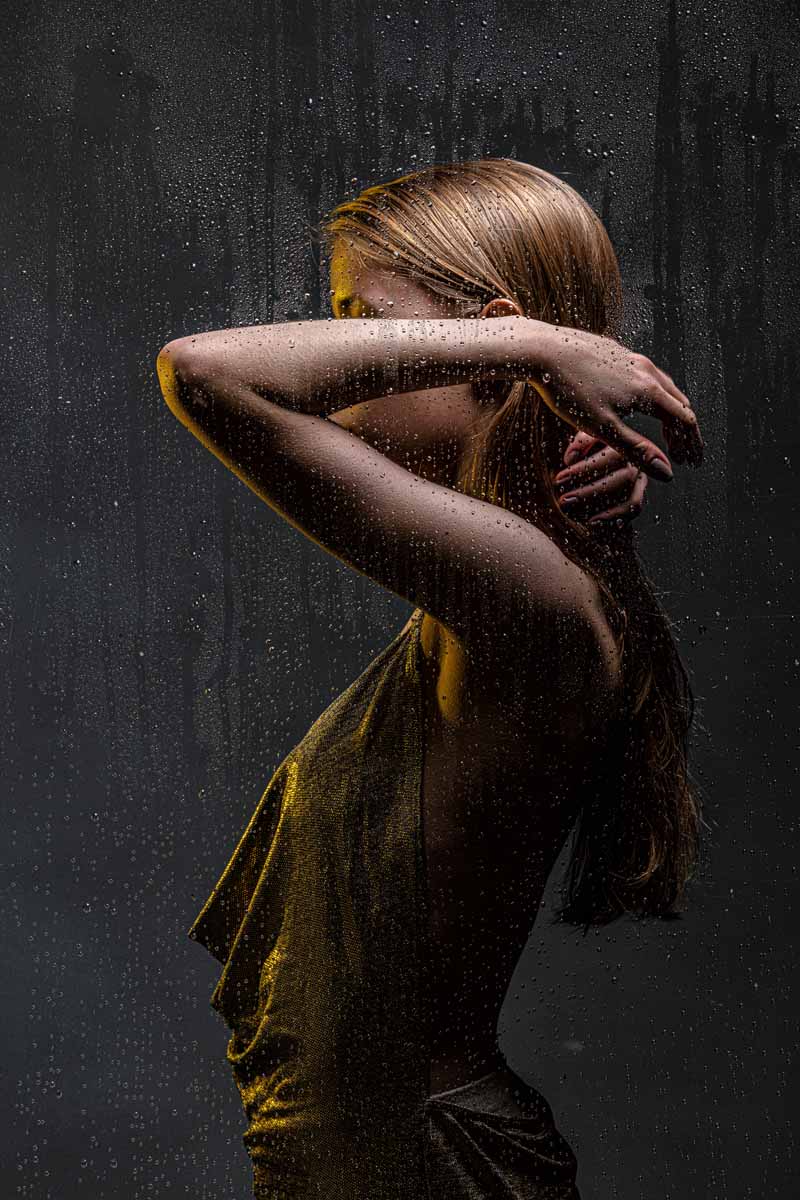
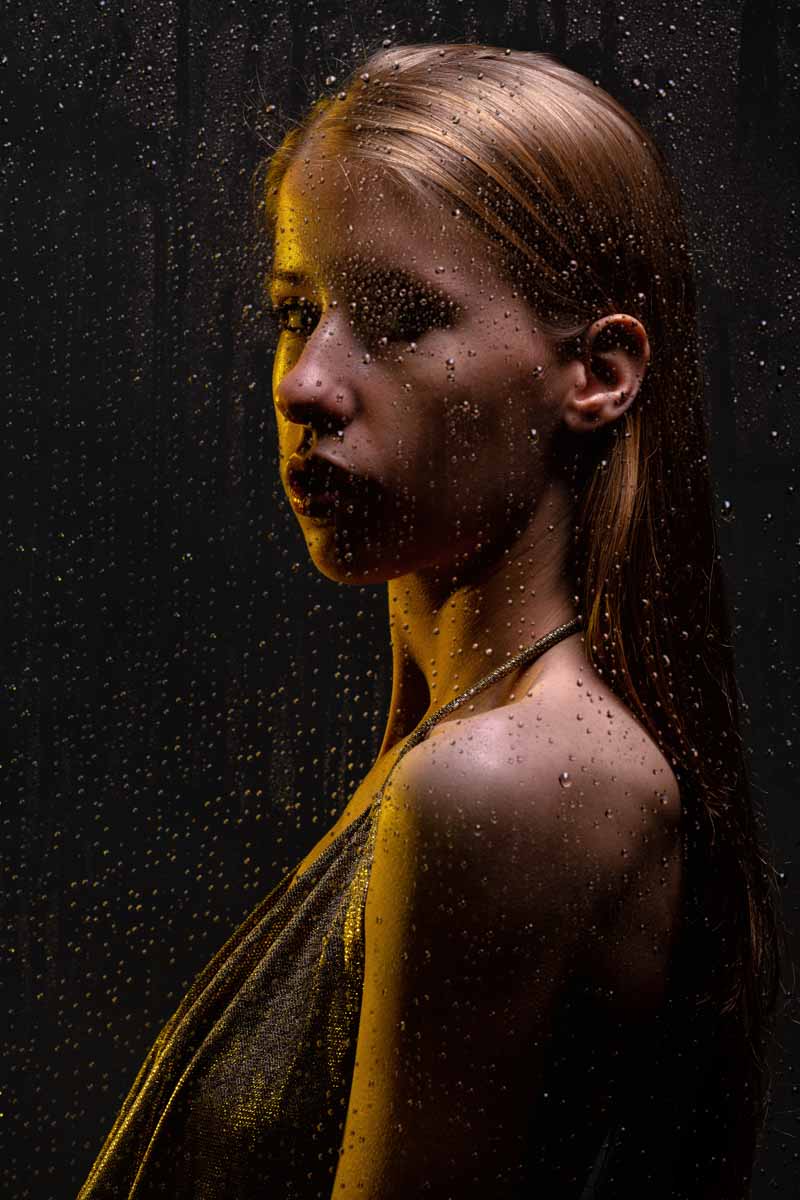
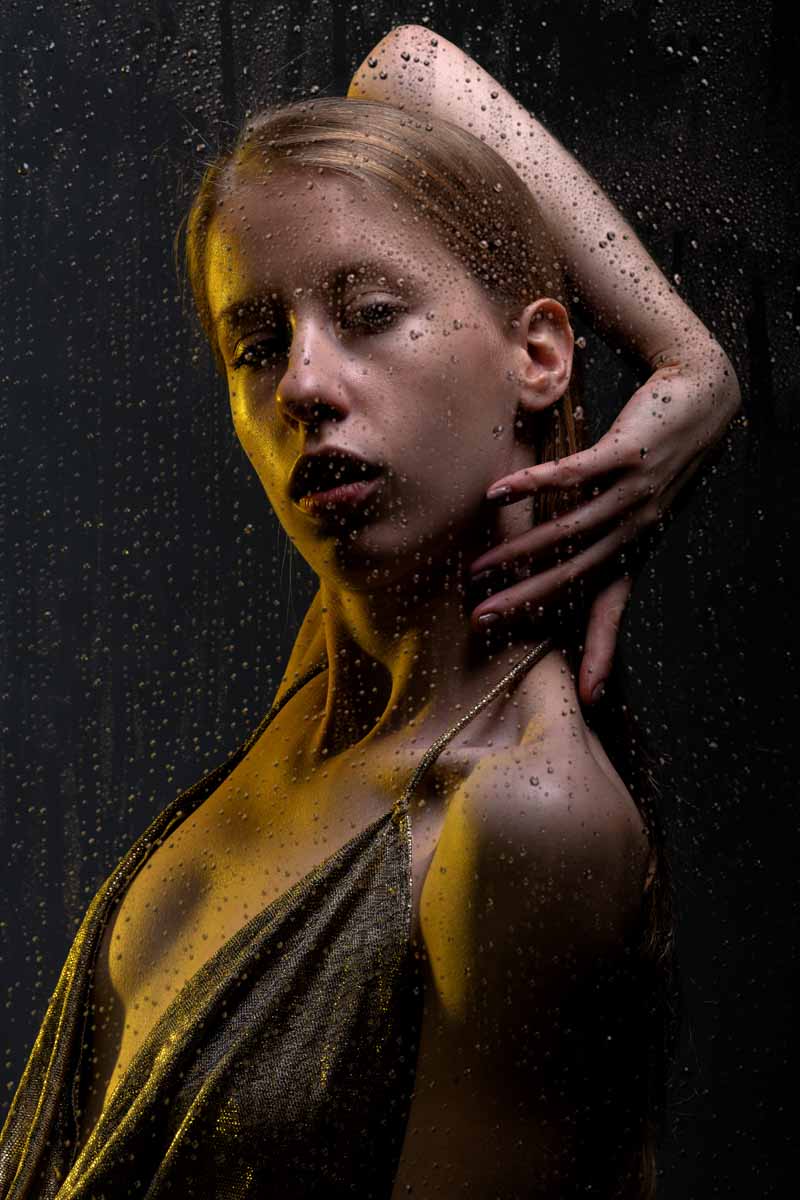
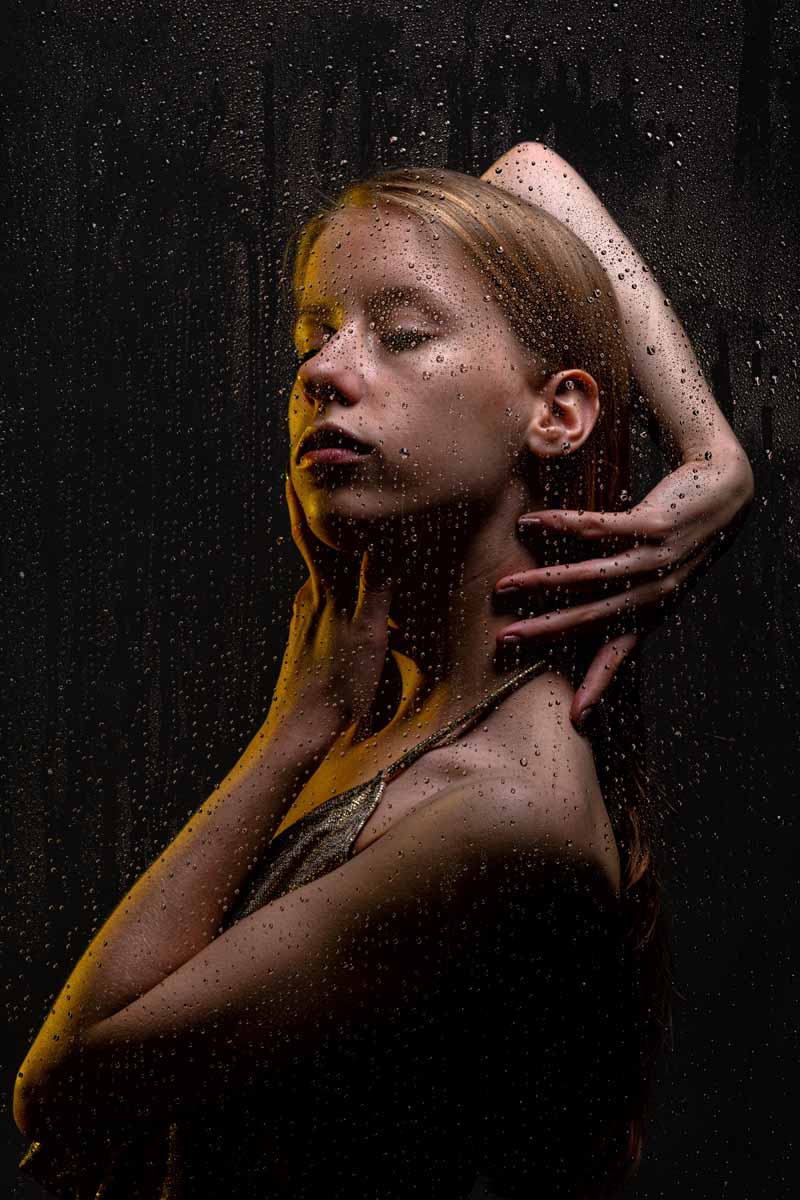
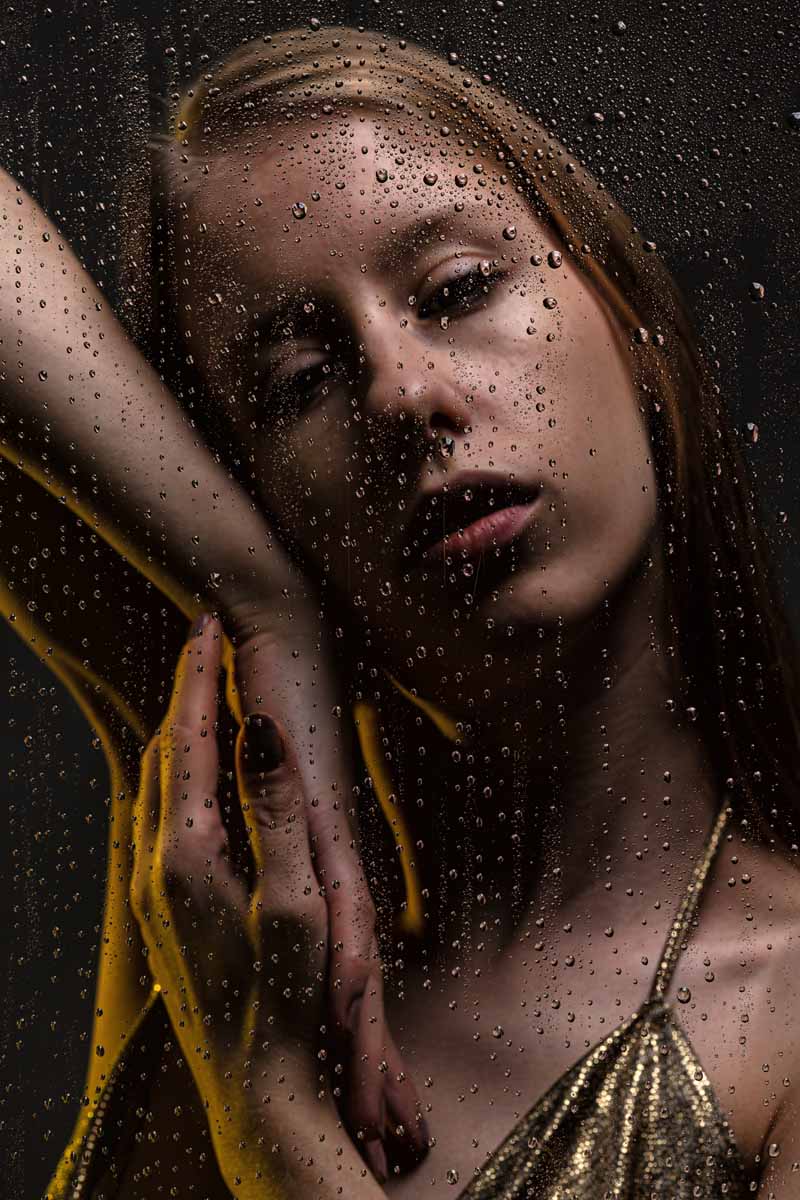
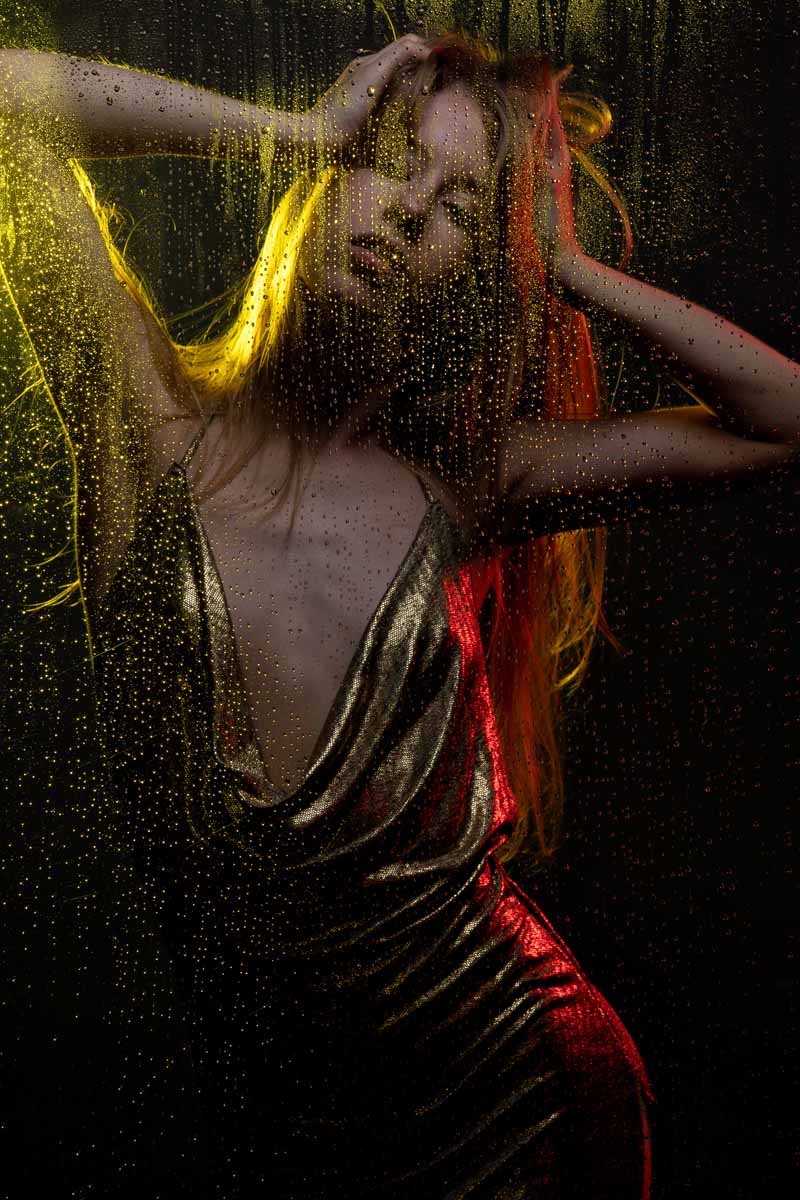
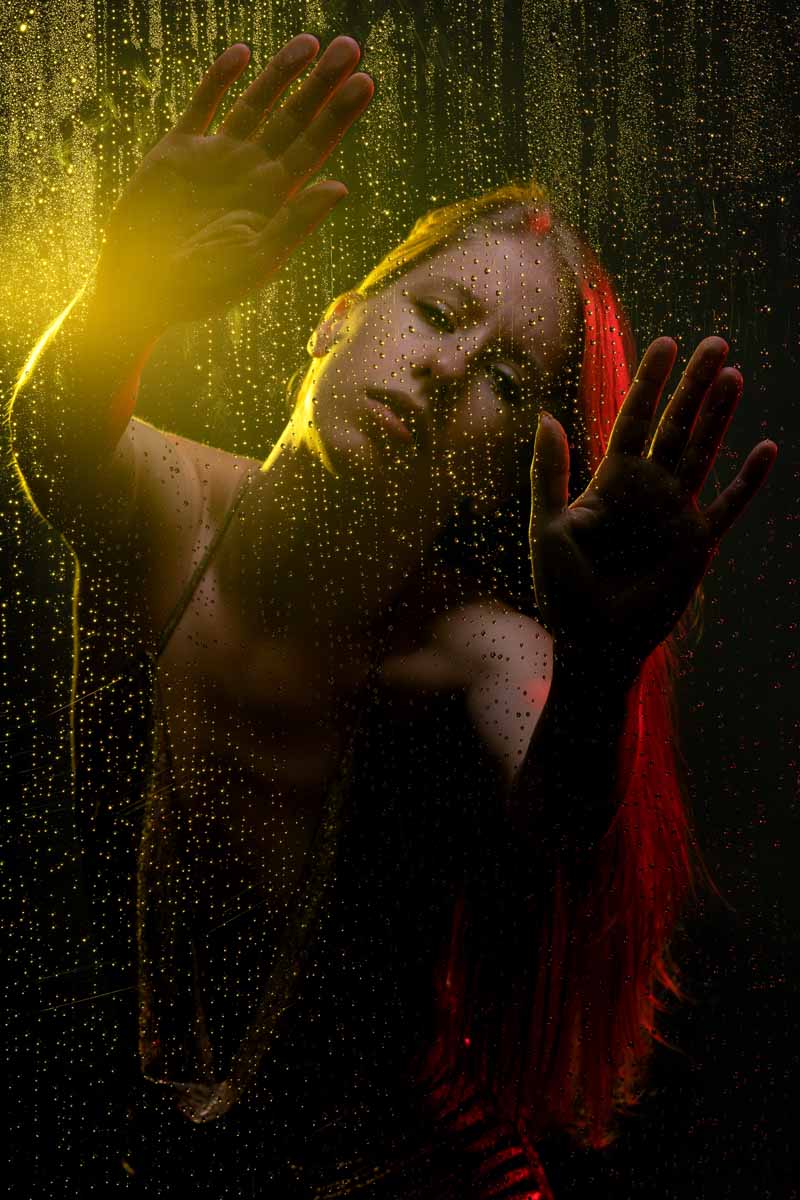
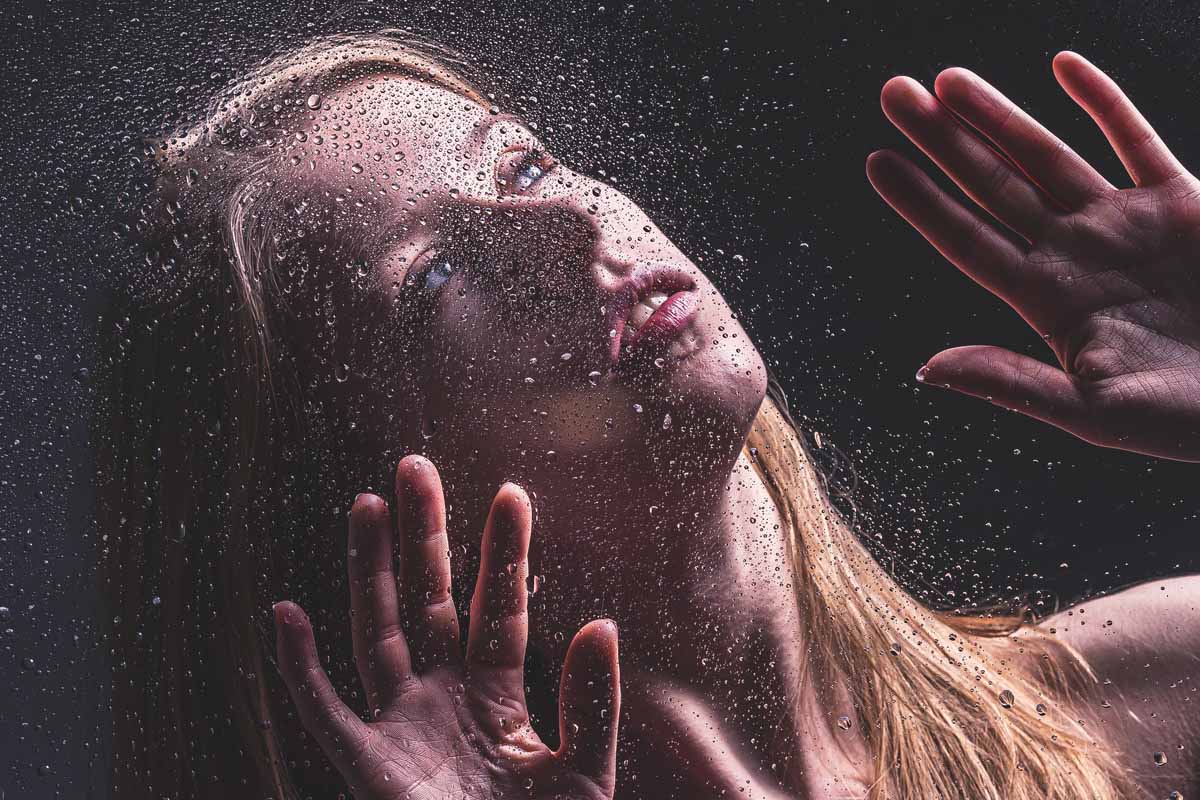
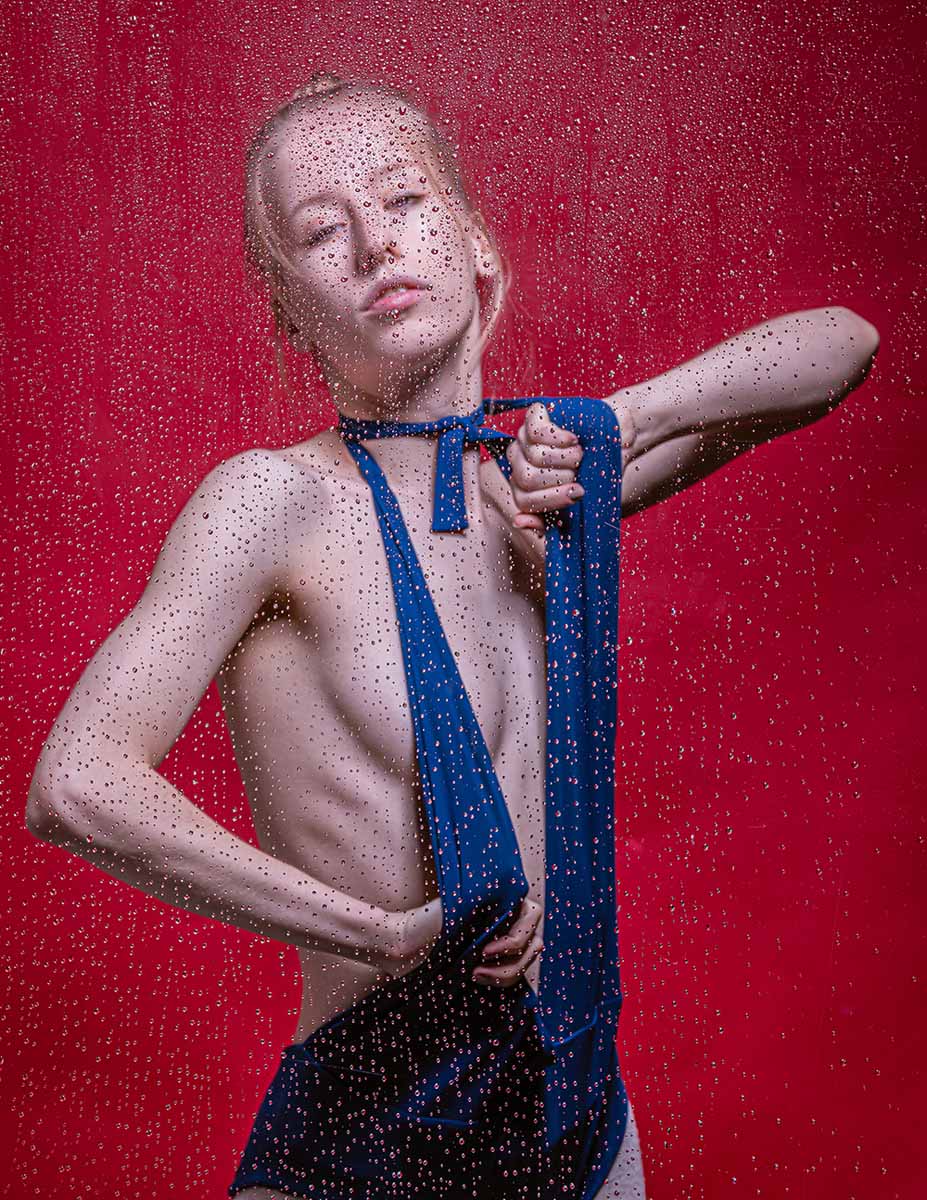
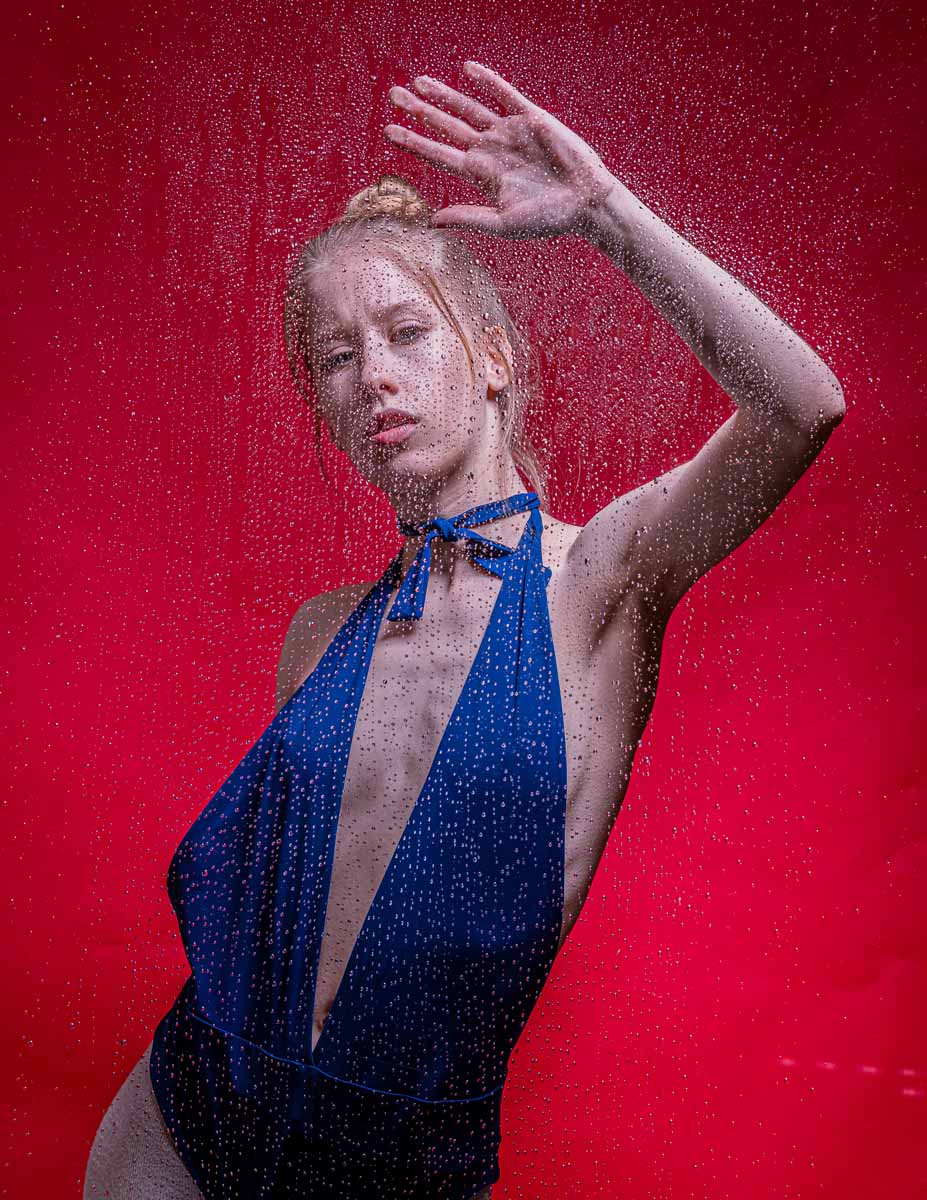
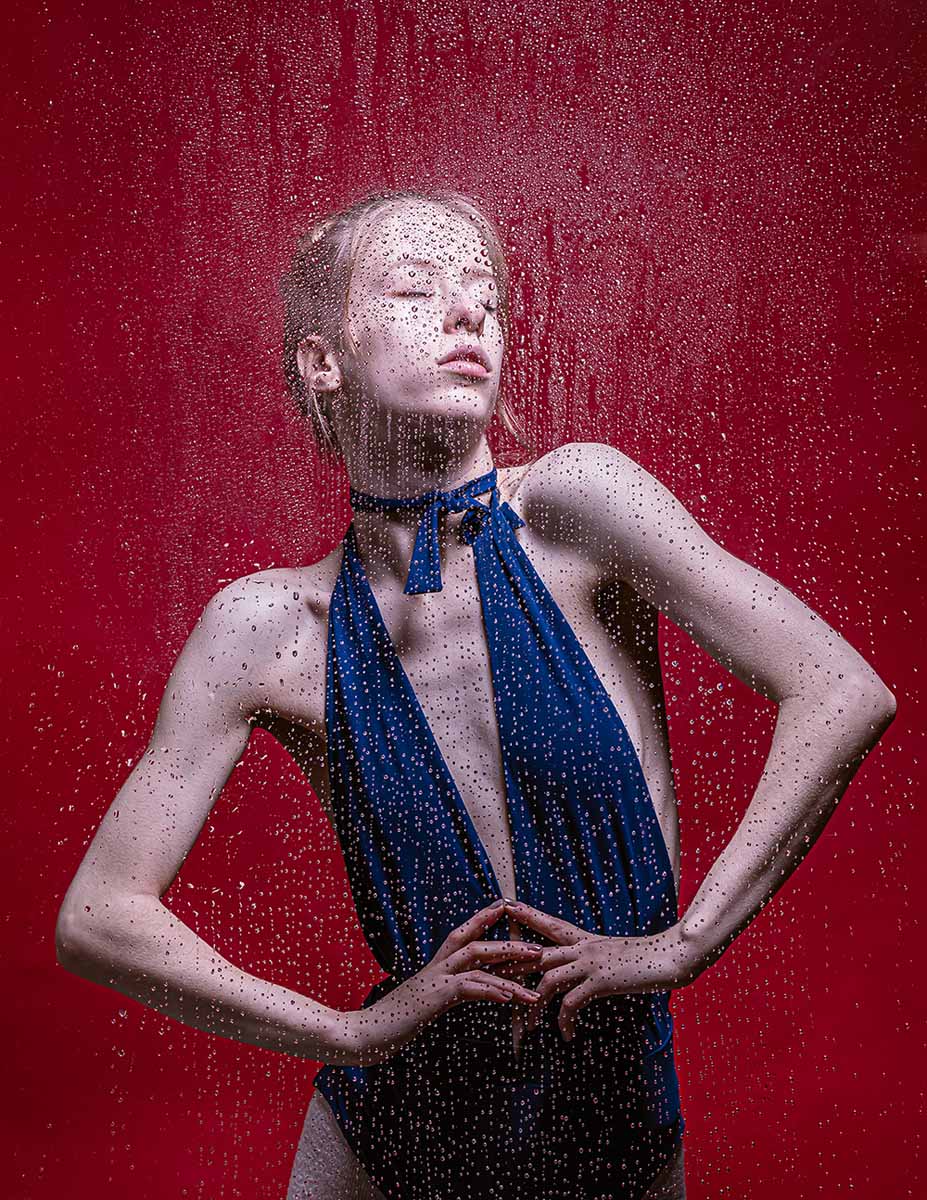
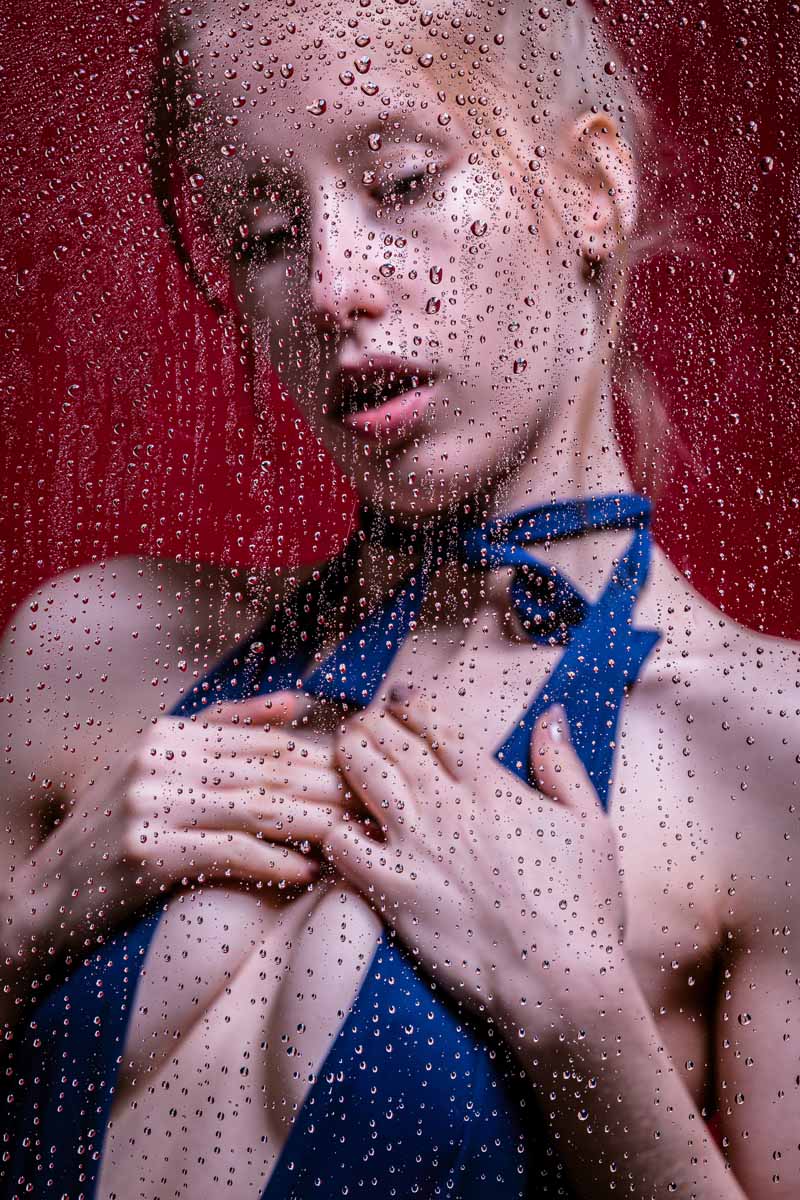
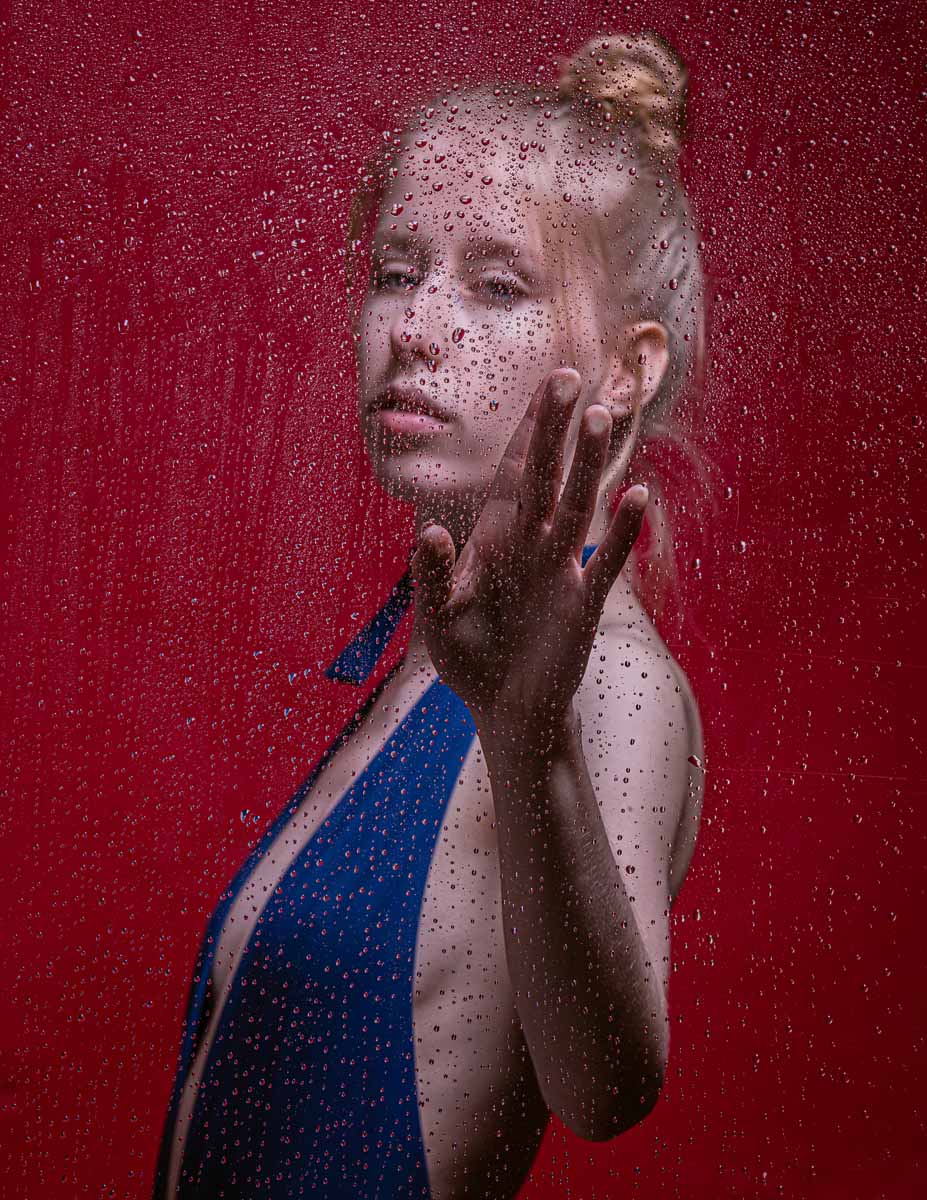
2. Introduce the Acrylic Glass:
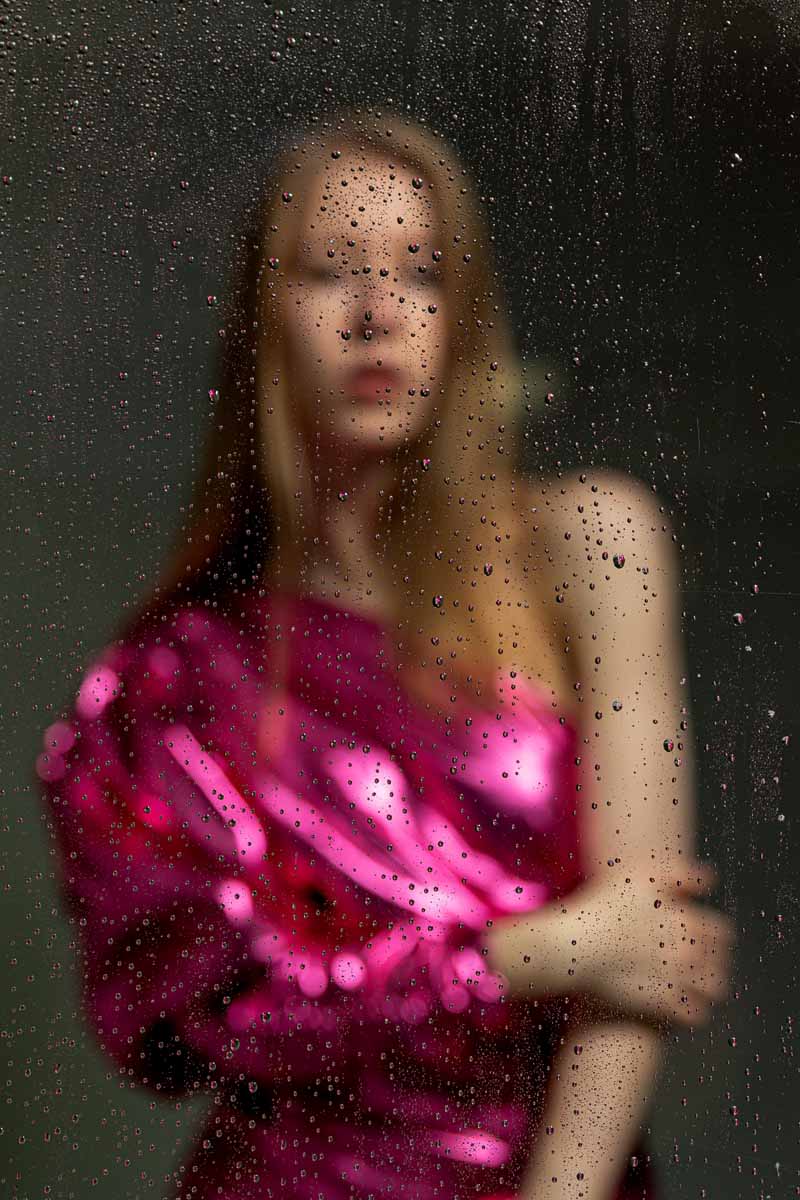
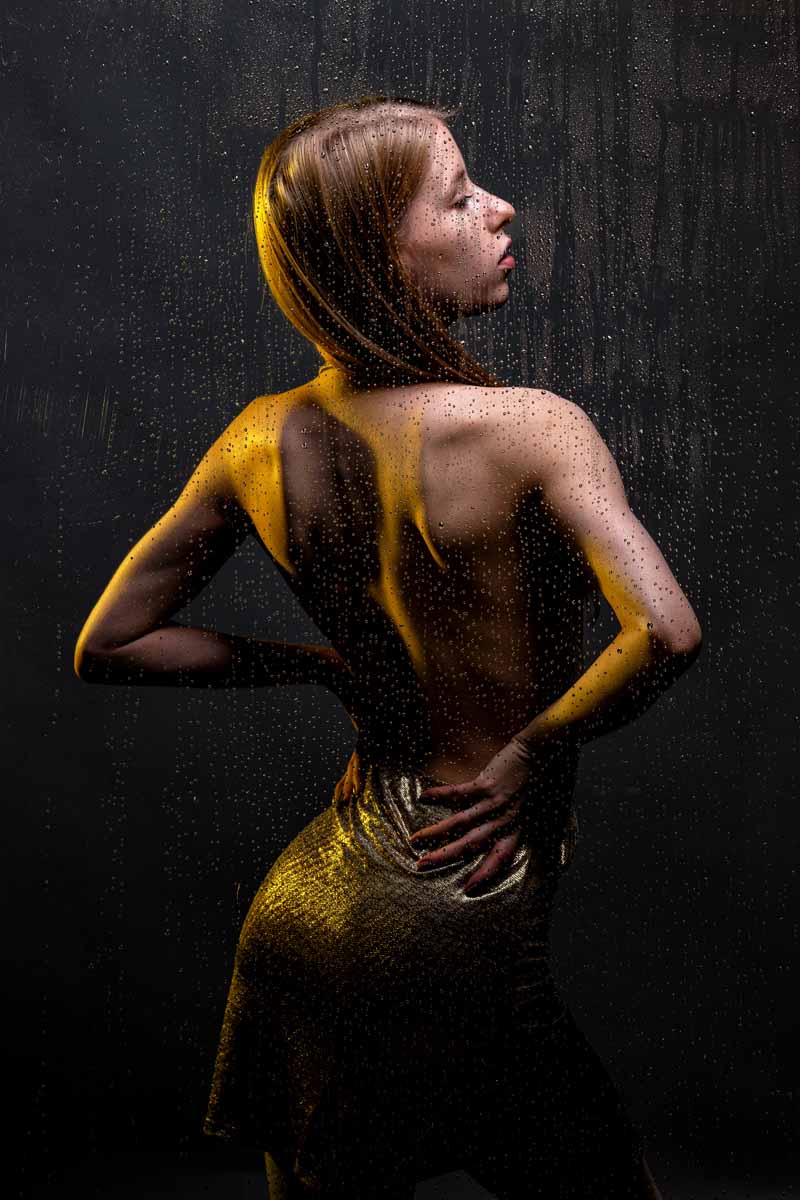
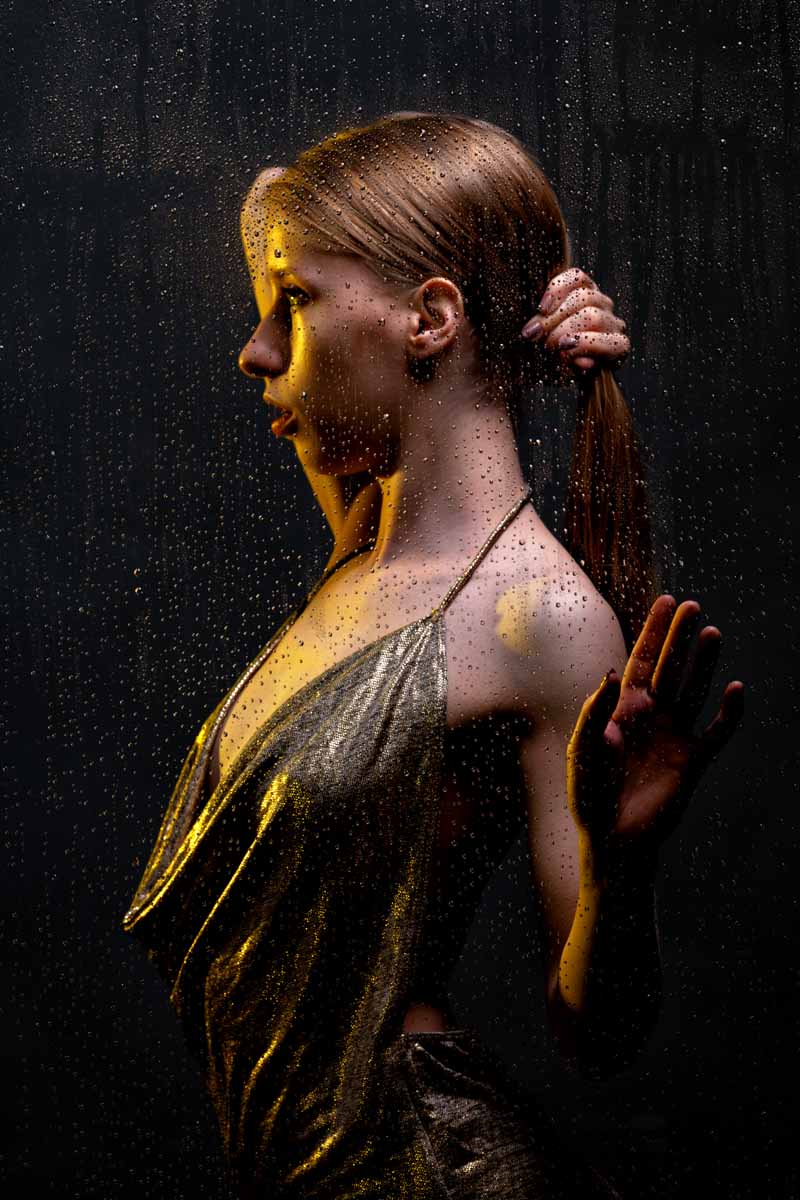
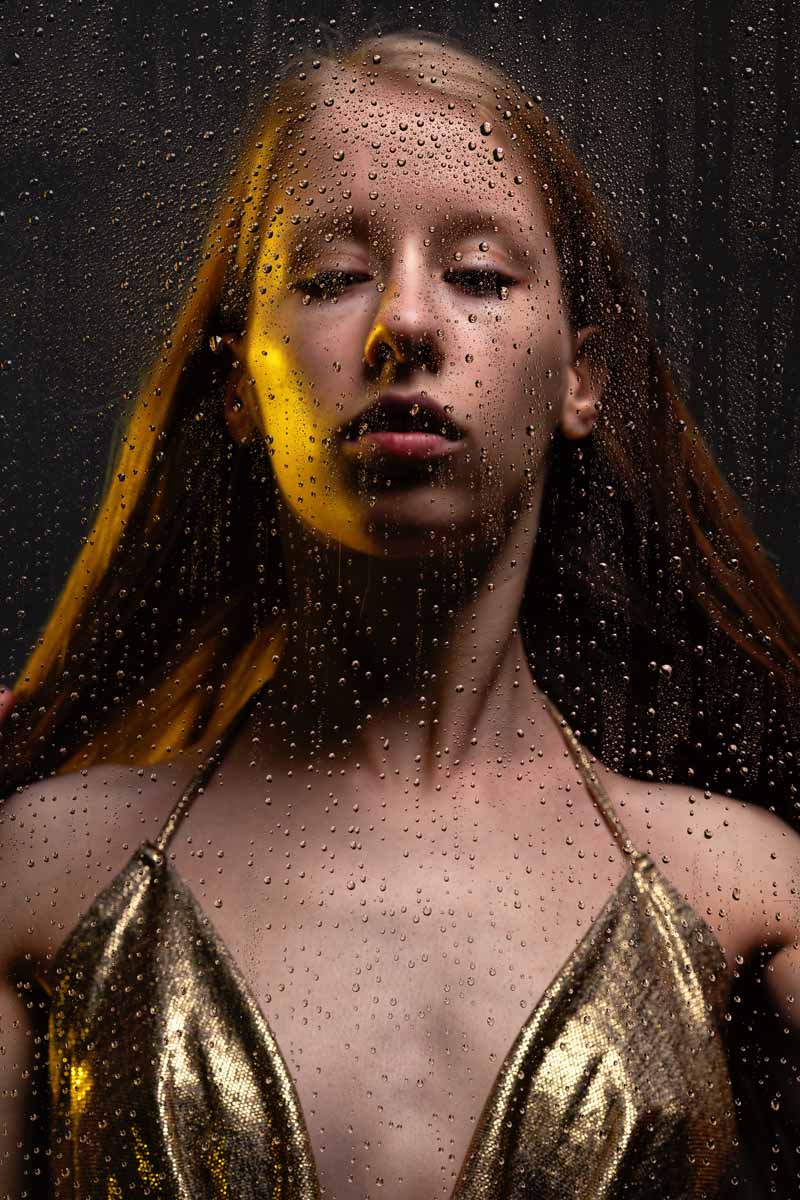
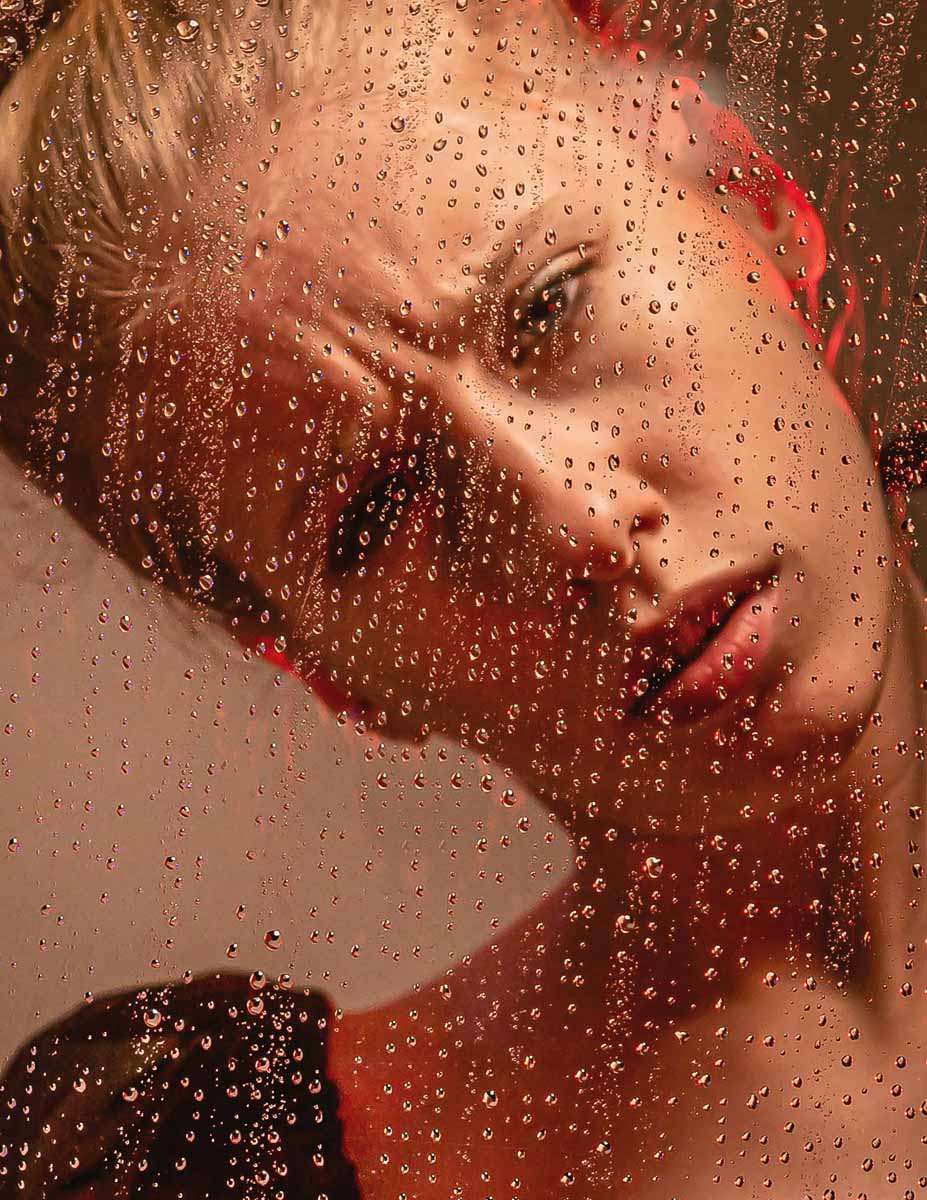
Hold the acrylic sheet between your camera and your subject. Experiment with the distance – holding it closer to the lens will make the water droplets appear larger and more diffused, while further away will make them smaller and sharper.
You can have it fill the entire frame, or just a portion, depending on the look you’re going for.
3. Create the “Rain”:
Using your spray bottle, mist water onto the side of the acrylic glass facing your subject. Don’t overdo it initially; you can always add more.
Experiment with different spray patterns – a fine mist will give tiny droplets, while a heavier spray will create larger rivulets.
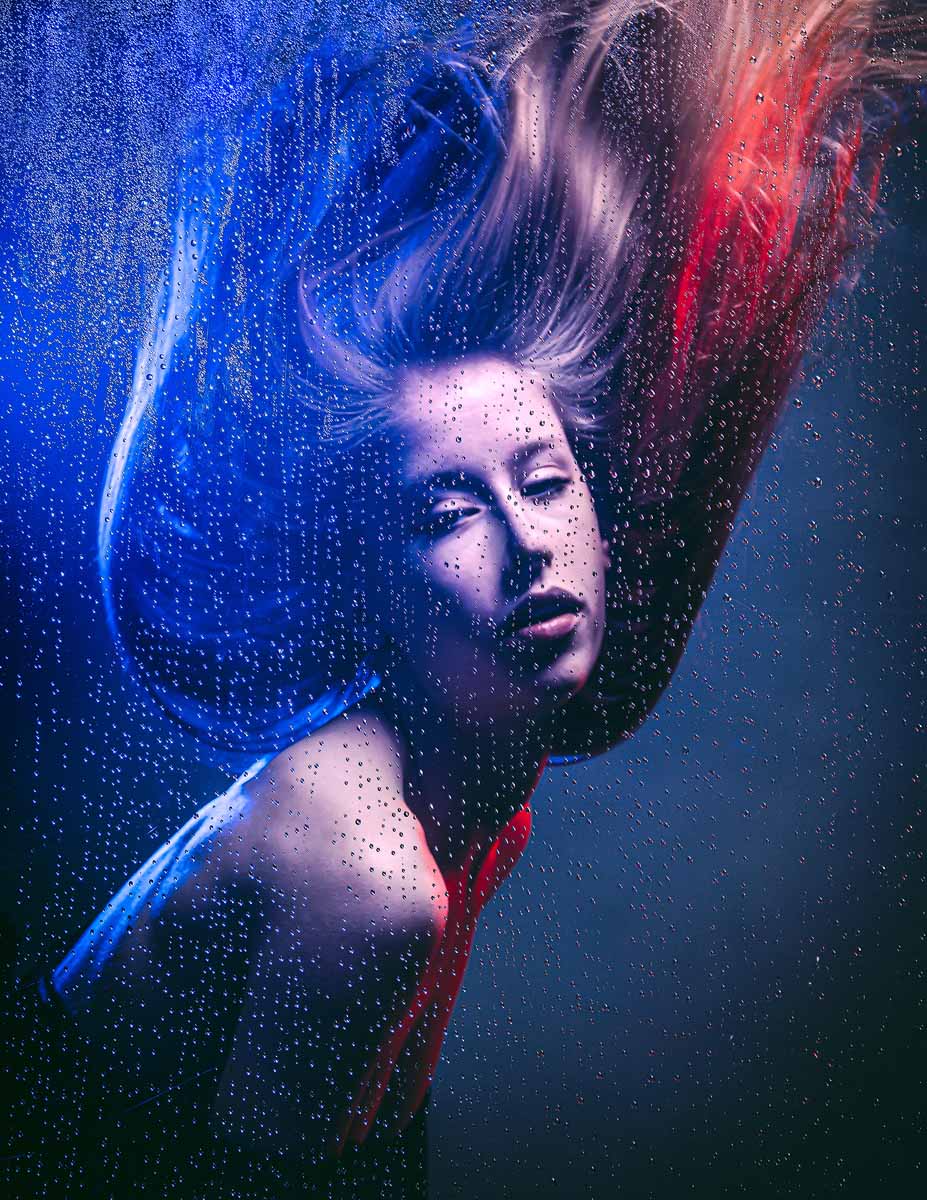
4. Add Light for Drama:
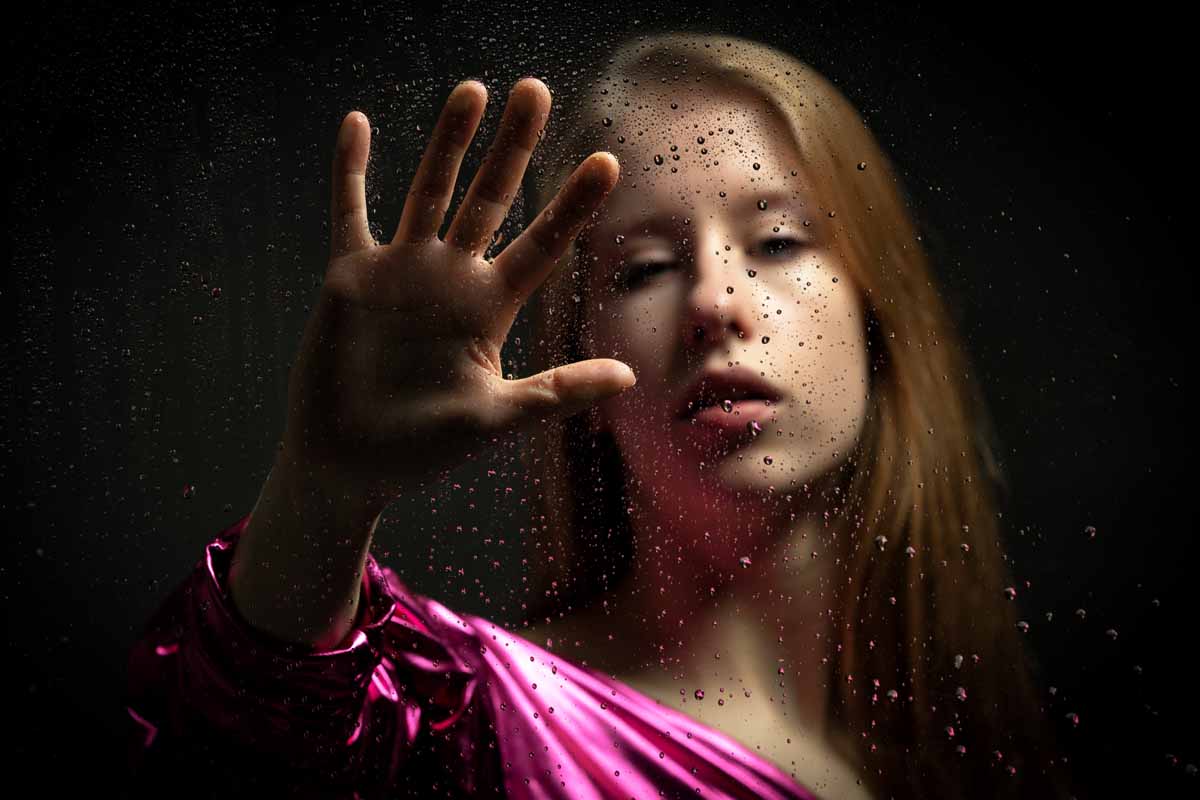
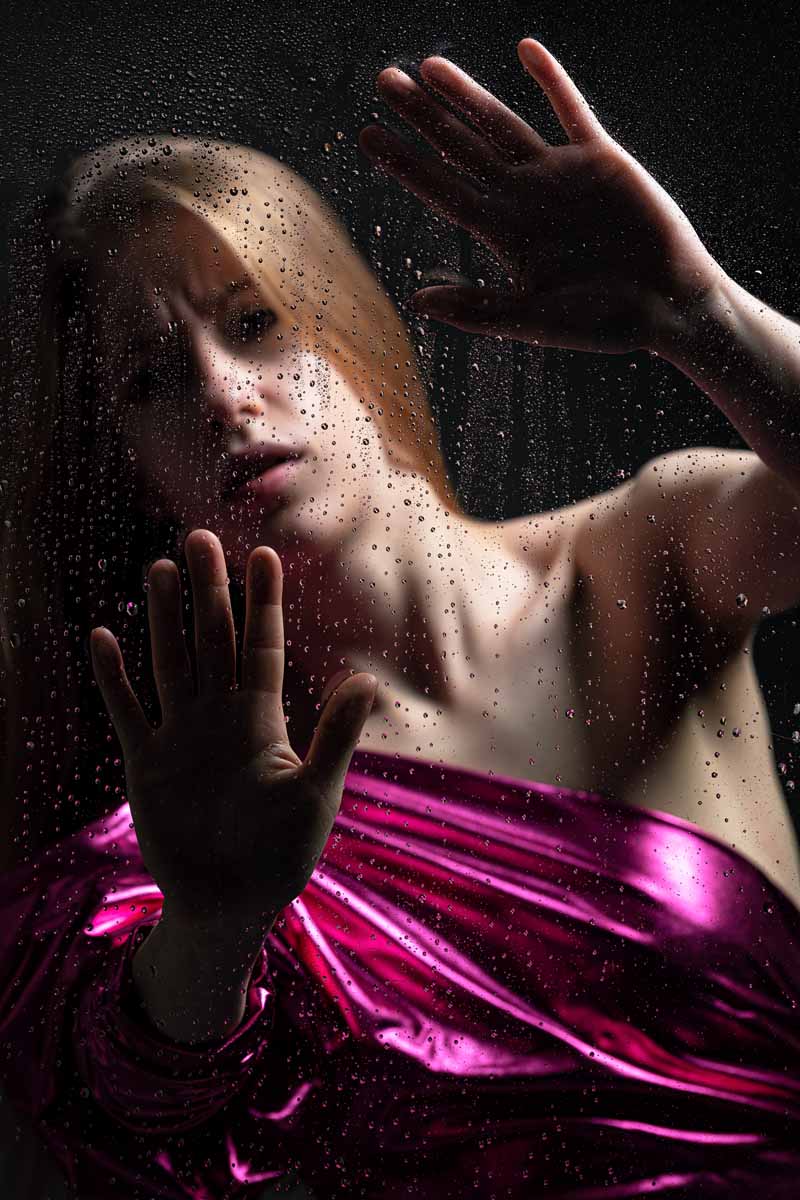
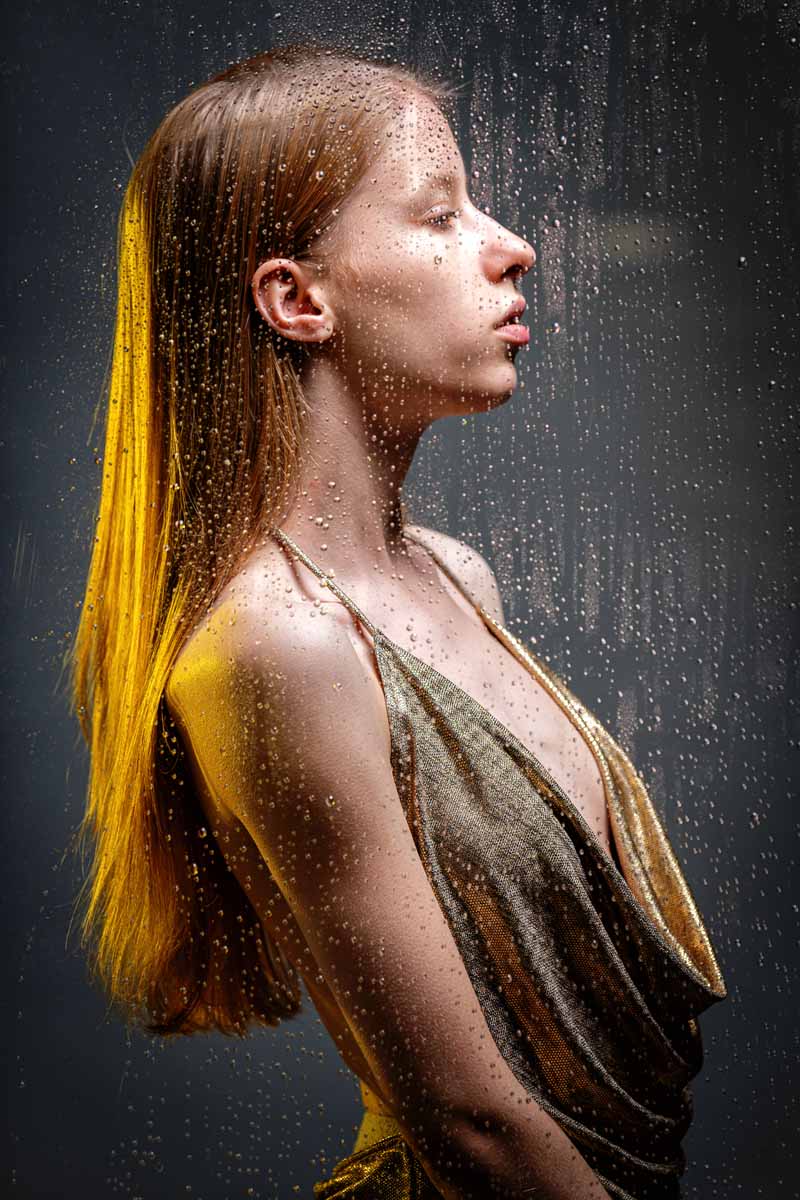
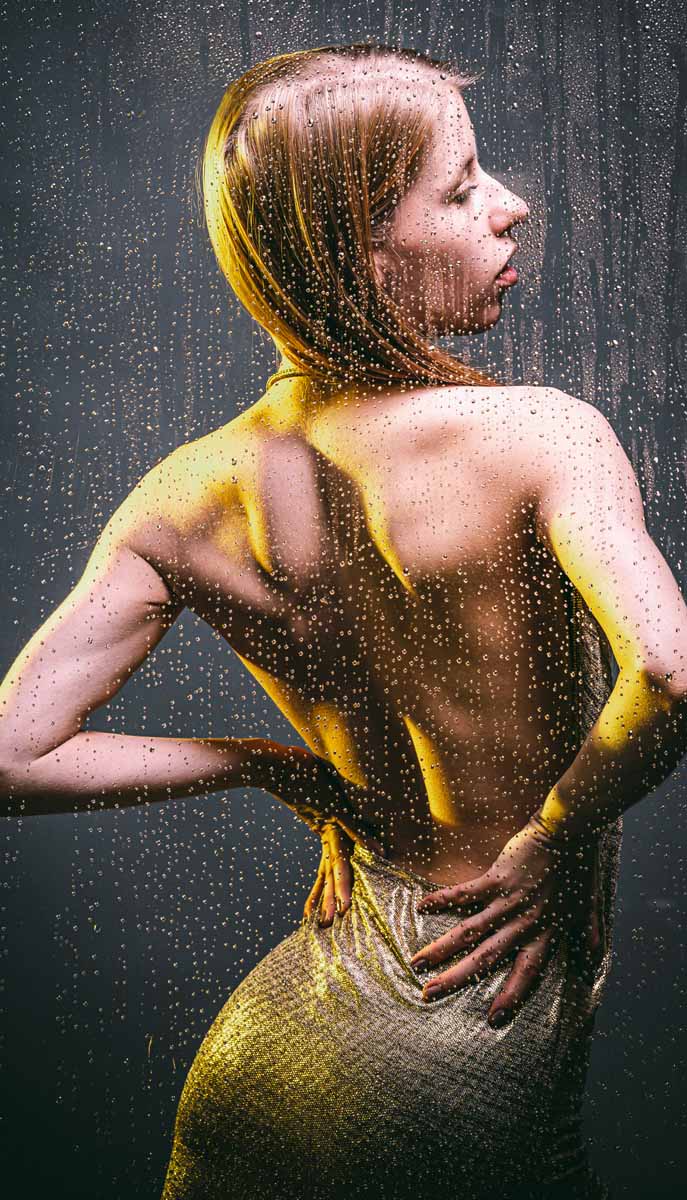
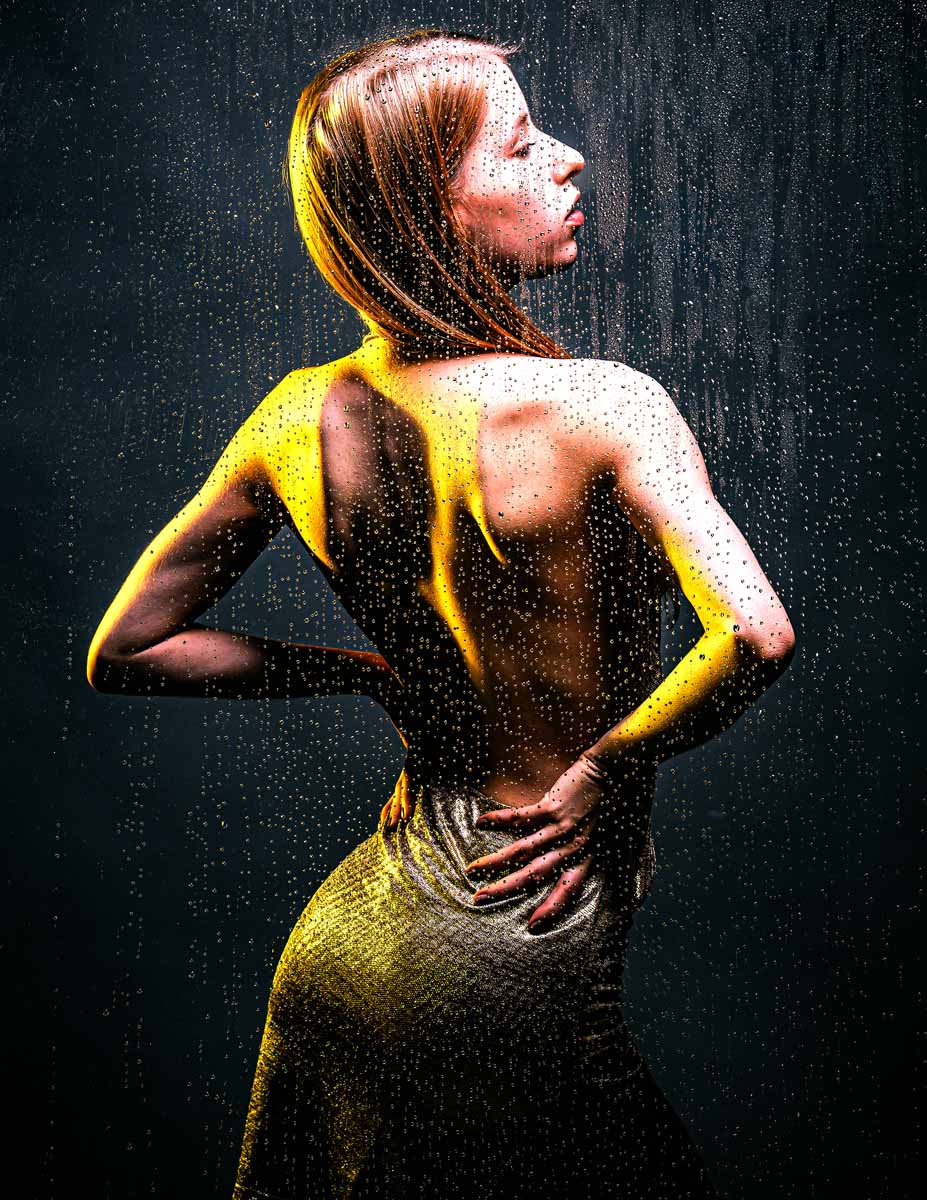
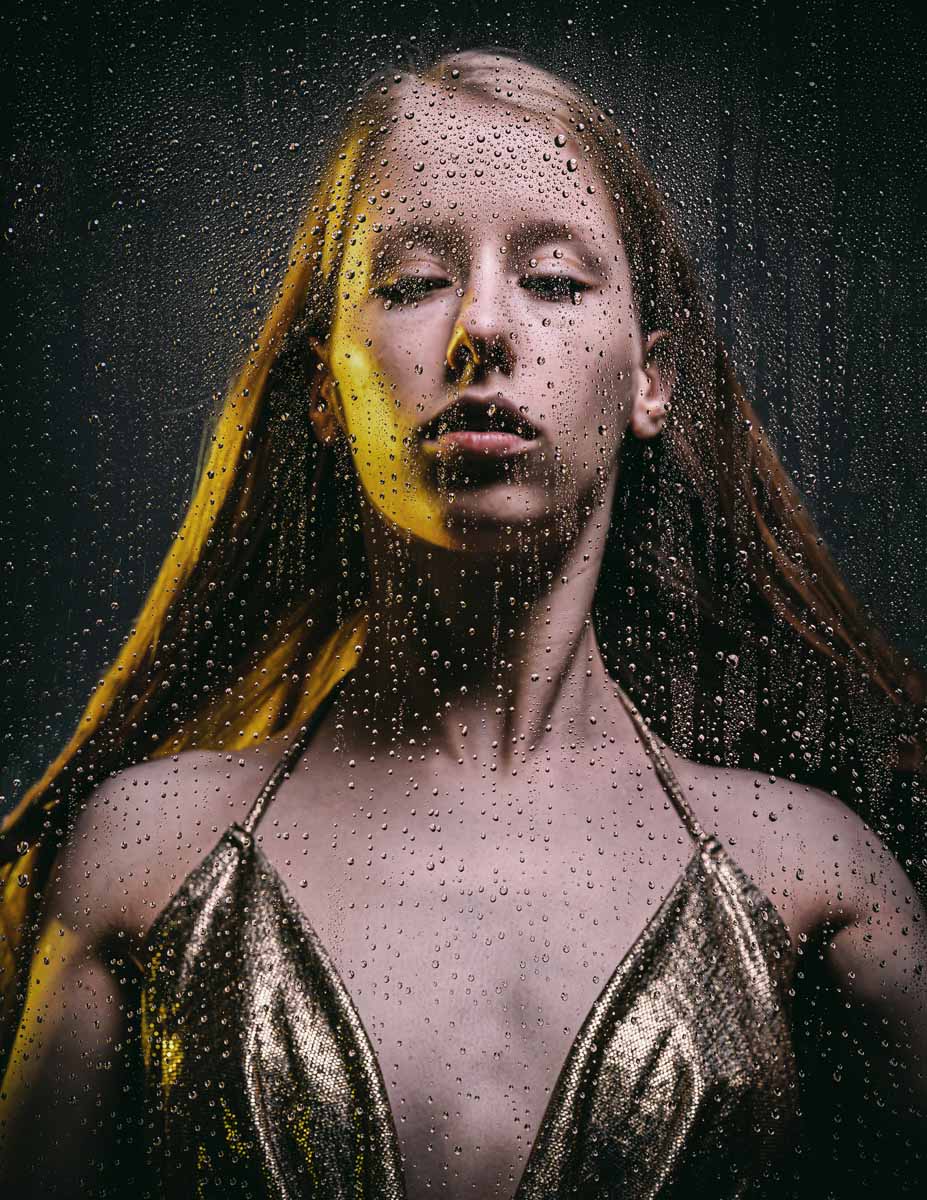
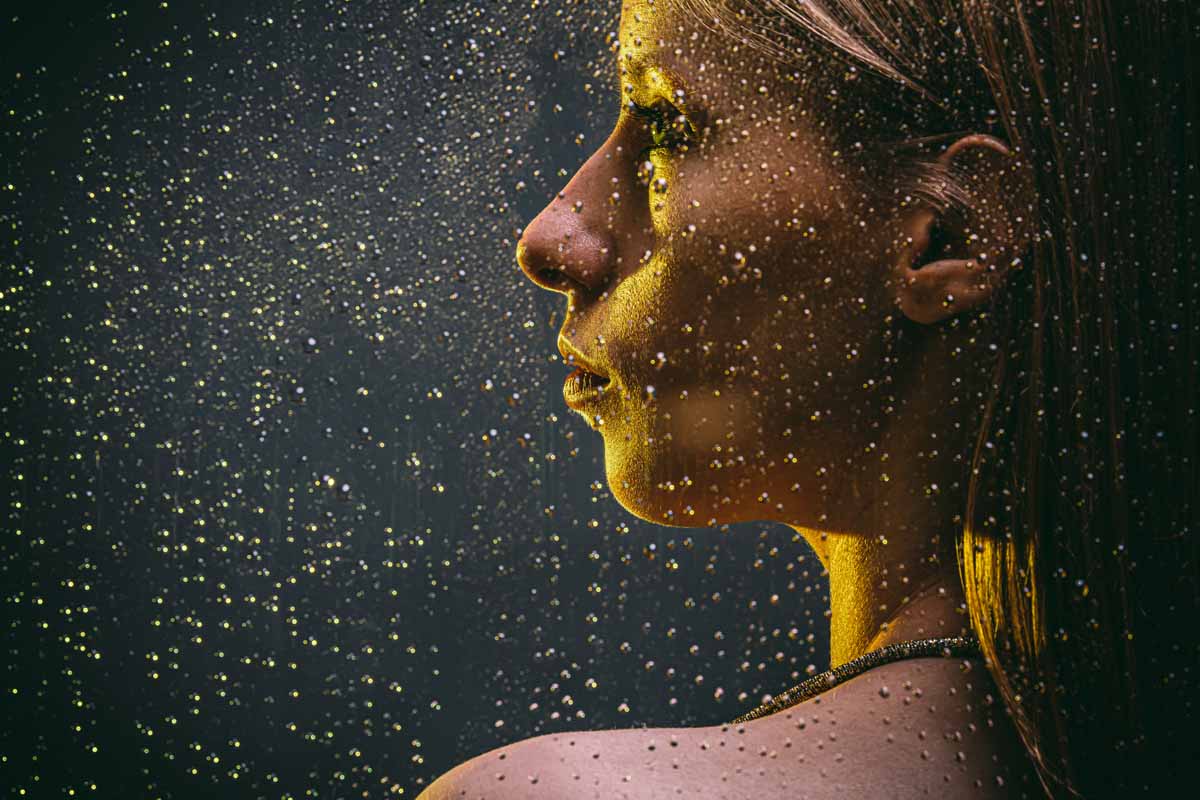
This is where the magic happens! Backlighting the acrylic sheet (from behind the sheet, but ideally from an angle that hits the water droplets) will make the water sparkle and glow, just like real rain catching the light.
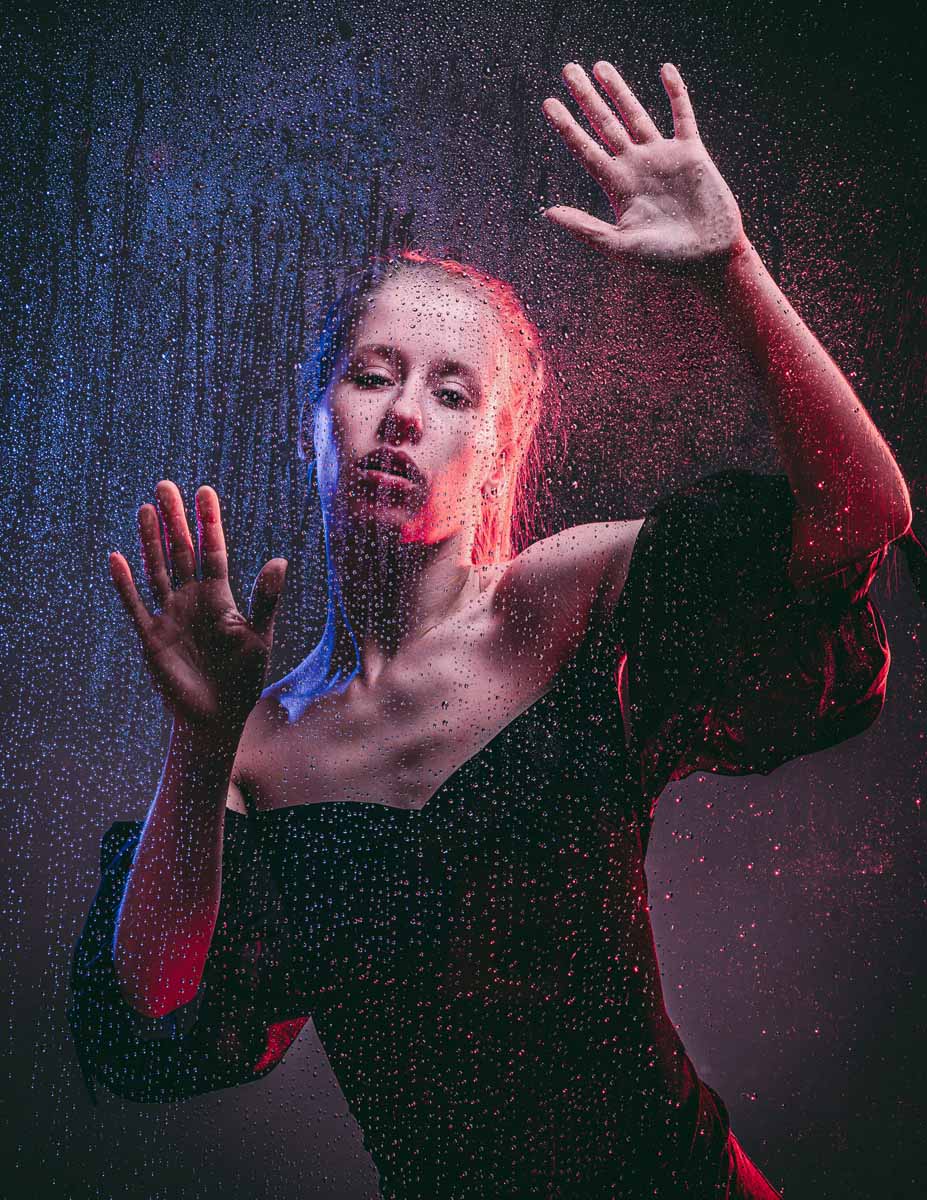
If shooting a portrait, have your subject slightly off-center, and place a light source behind the acrylic sheet, angled towards the water.
If using natural light, try positioning your setup near a window so the light streams through the wet acrylic.
5. Focus & Shoot:
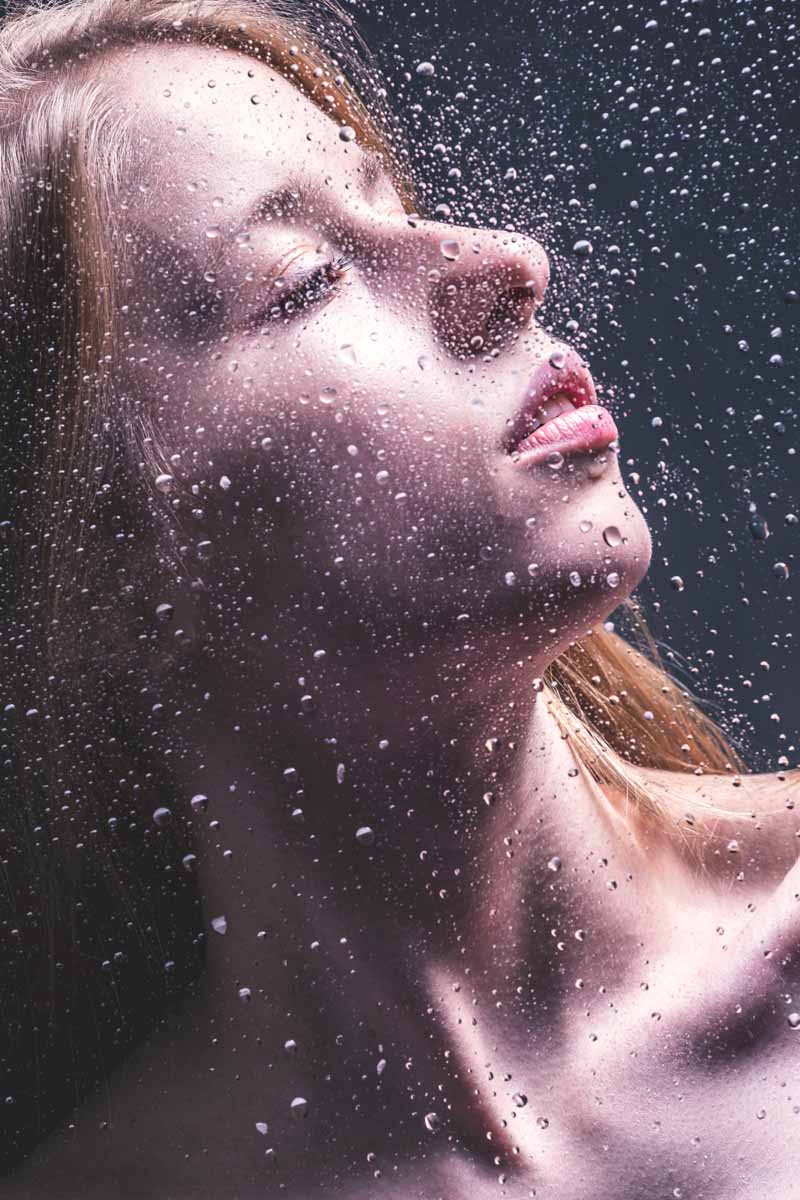
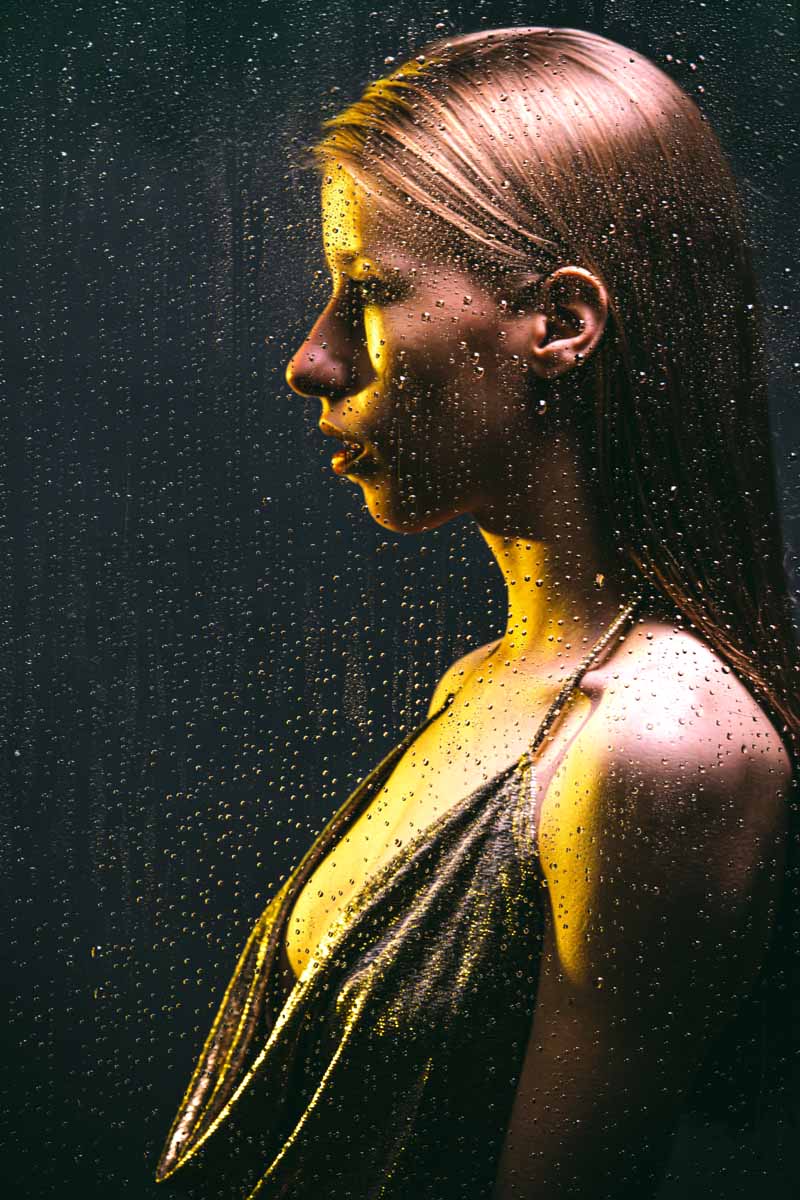
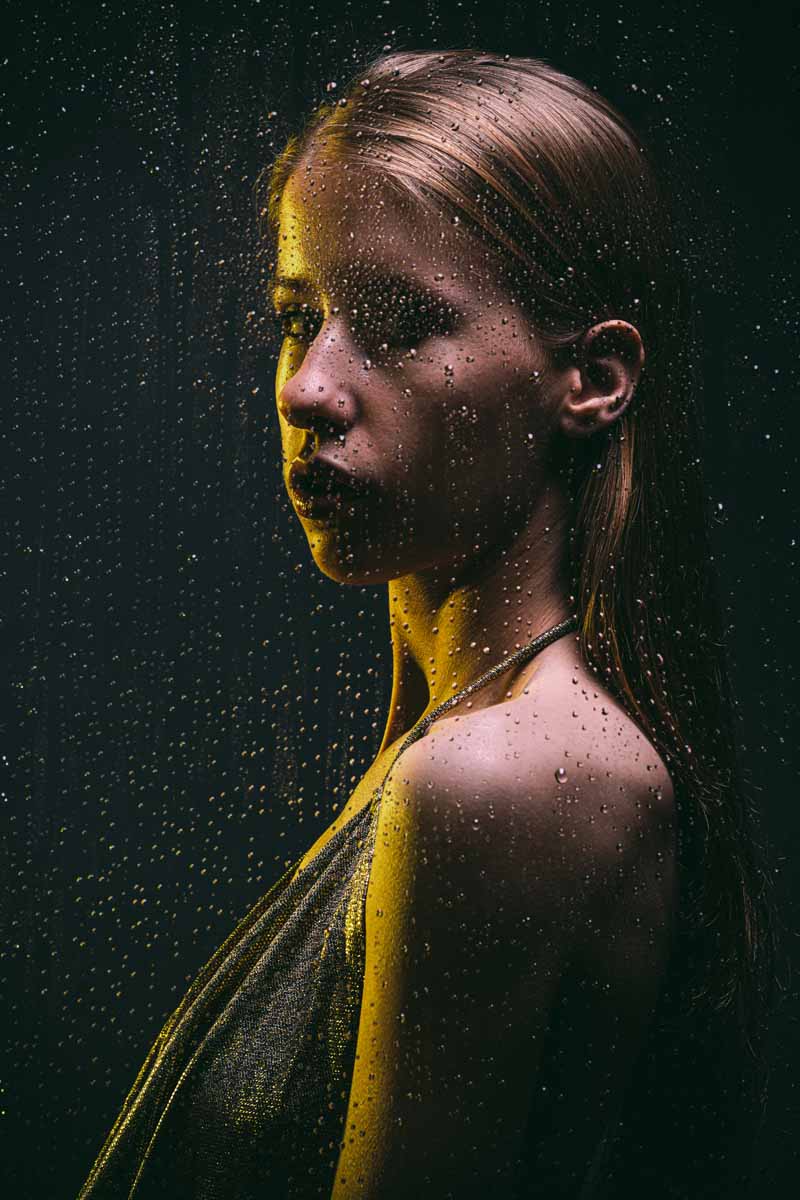
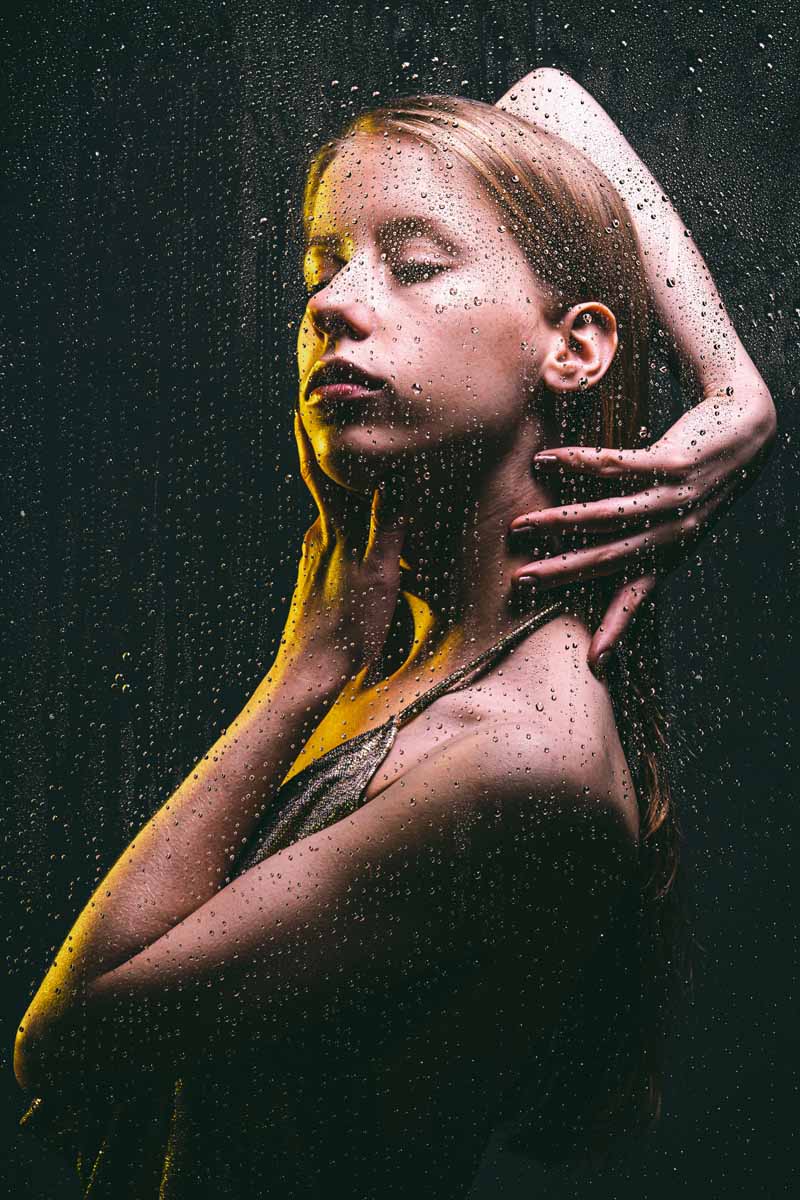
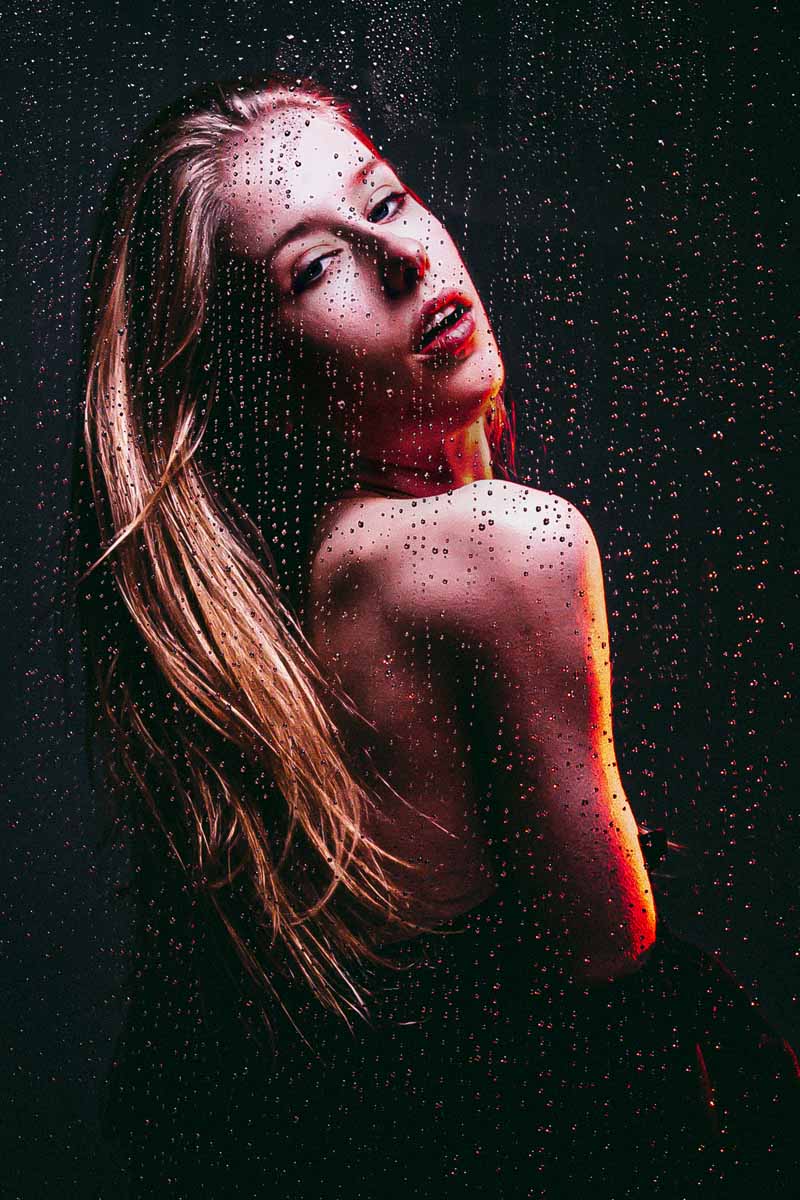
Crucial Tip: Focus on your subject, NOT the water droplets on the acrylic glass. Your camera will naturally want to focus on the closest object, so manually select your focus point on your subject’s eyes or the main element of your still life.
Aperture: Use a wider aperture (e.g., f/1.8 – f/4) to blur the background and the acrylic sheet itself, making the water droplets appear as beautiful bokeh.
Composition: Play with angles. You can hold the sheet vertically for a window pane effect, or tilt it for a more dynamic look.
Post-Processing Polish:
In post-production, you can enhance the mood further:
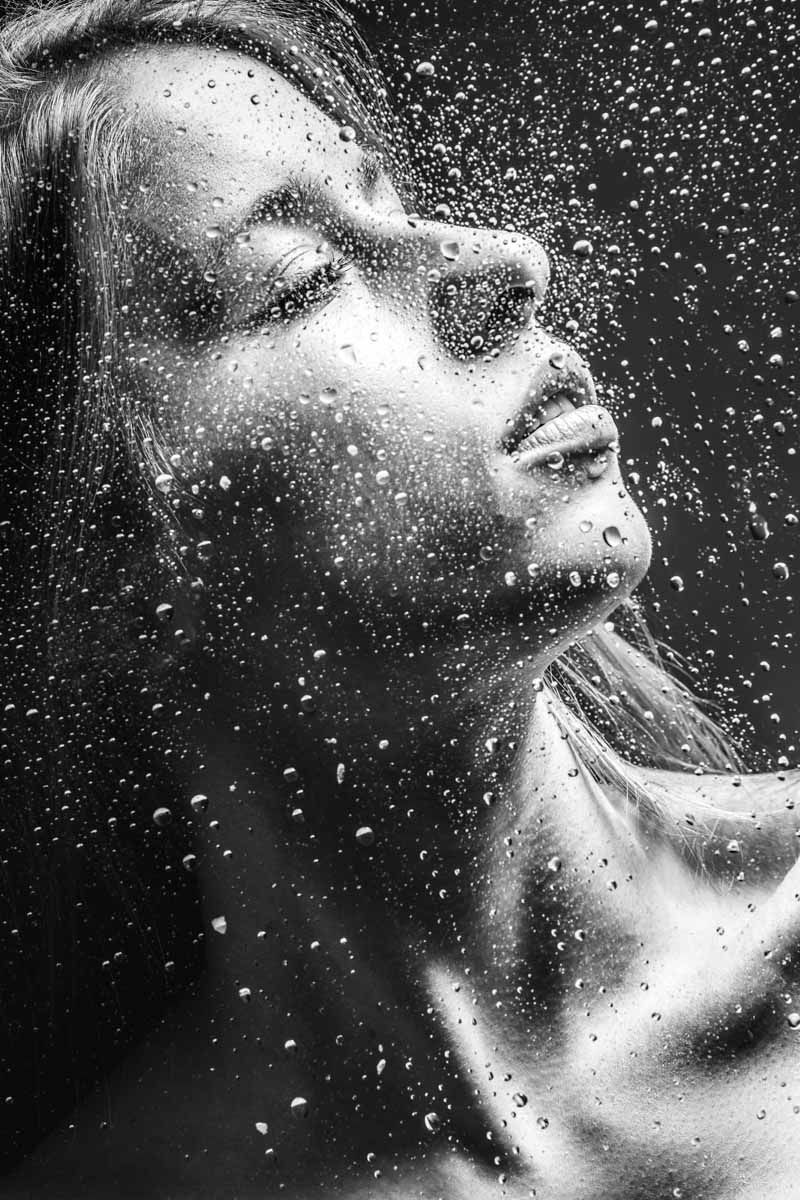
Adjust Contrast: Increase contrast to make the water droplets stand out.
Desaturate: Slightly desaturating the image can enhance the melancholic “rainy day” vibe.
Vignette: Add a subtle vignette to draw attention to your subject.
Color Grading: Experiment with cooler tones (blues, greens) for a classic rainy feel, or warmer tones for a more ethereal look.
Beyond Portraits: Applying the Technique in Prague
Imagine applying this technique to:
Still life of Czech crafts: A crystal vase or painted egg looking as if viewed through a rainy window.
Architectural details: A gargoyle on St. Vitus Cathedral, or a specific baroque facade, appearing shrouded in a gentle downpour.
Food photography: A warm cup of coffee or a traditional Trdelník, creating a cozy “rainy day inside” atmosphere.
This acrylic glass rain effect is a fantastic way to add depth, mood, and a touch of artistic flair to your photographs without relying on fickle weather. It’s a testament to how simple tools and creative thinking can transform your images.
Have you tried similar creative techniques? What are your favorite ways to add atmosphere to your photos? Share your thoughts and results in the comments below!


Leave a Reply
You must be logged in to post a comment.